Company Settings Branches
Welcome to Citicon Payroll and Accounting Systems Configuration for Branches. This section allows you to define and manage the different branches under your organization, each with its own unique identity and branding settings.
Key Purposes
- Register Multiple Branches: Add new branch entries with unique codes and names to represent various business locations.
- Manage Branch Status: Activate or deactivate branches as needed to keep operational data relevant and updated.
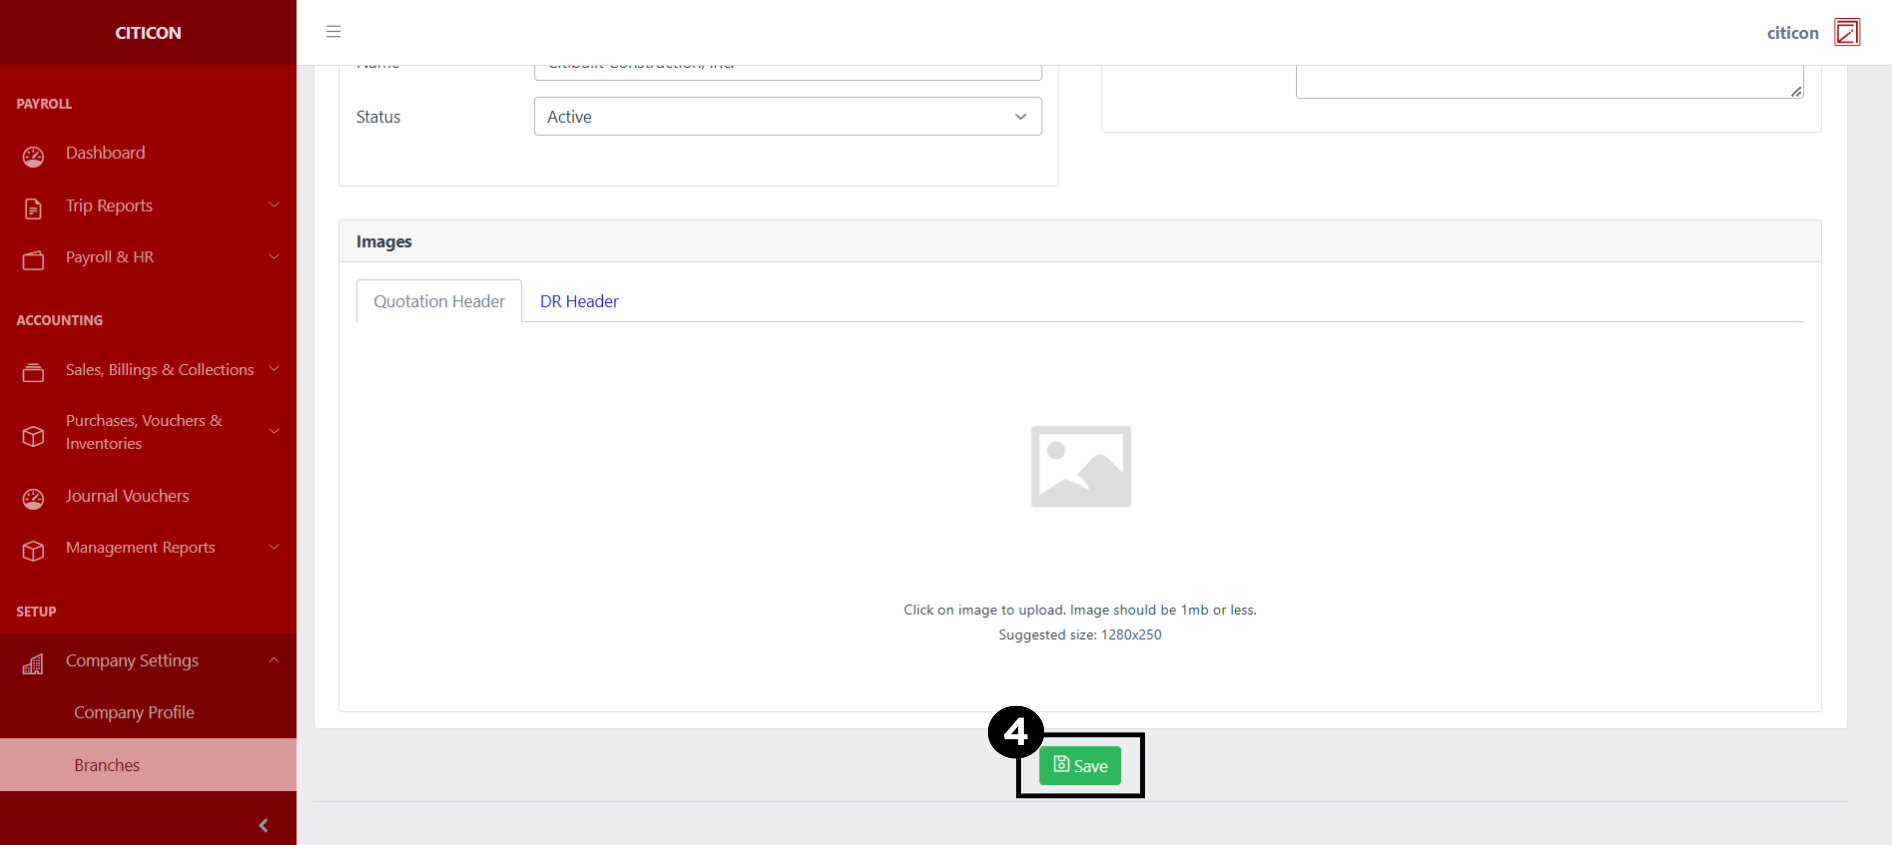
- Customize Document Headers: Upload specific headers for each branch’s official Quotation and Delivery Receipt documents.
- Support Location-Based Operations: Enable accurate tracking, assignment, and reporting of transactions based on branch.
- Establish Clear Organizational Structure: Maintain clarity in how each branch is distinguished within the system for financial and HR operations.
Branches Module User-Manual
This section provides details, and set-by-step instructions to access, view, and update the Branches data stored in the system.
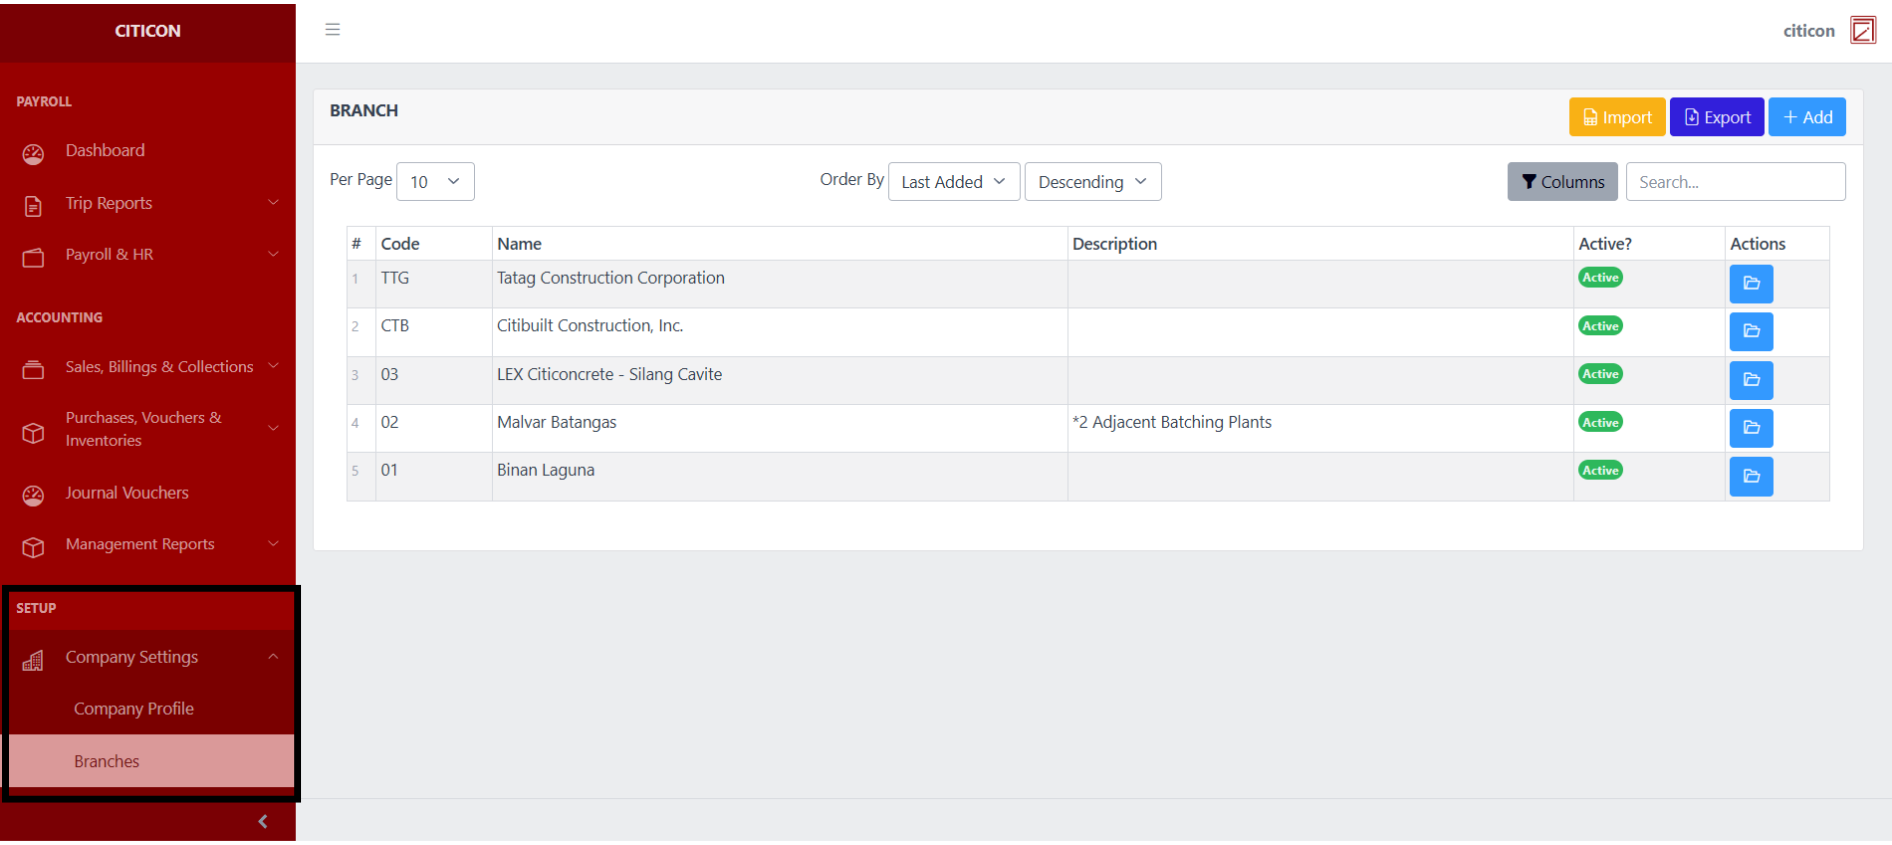
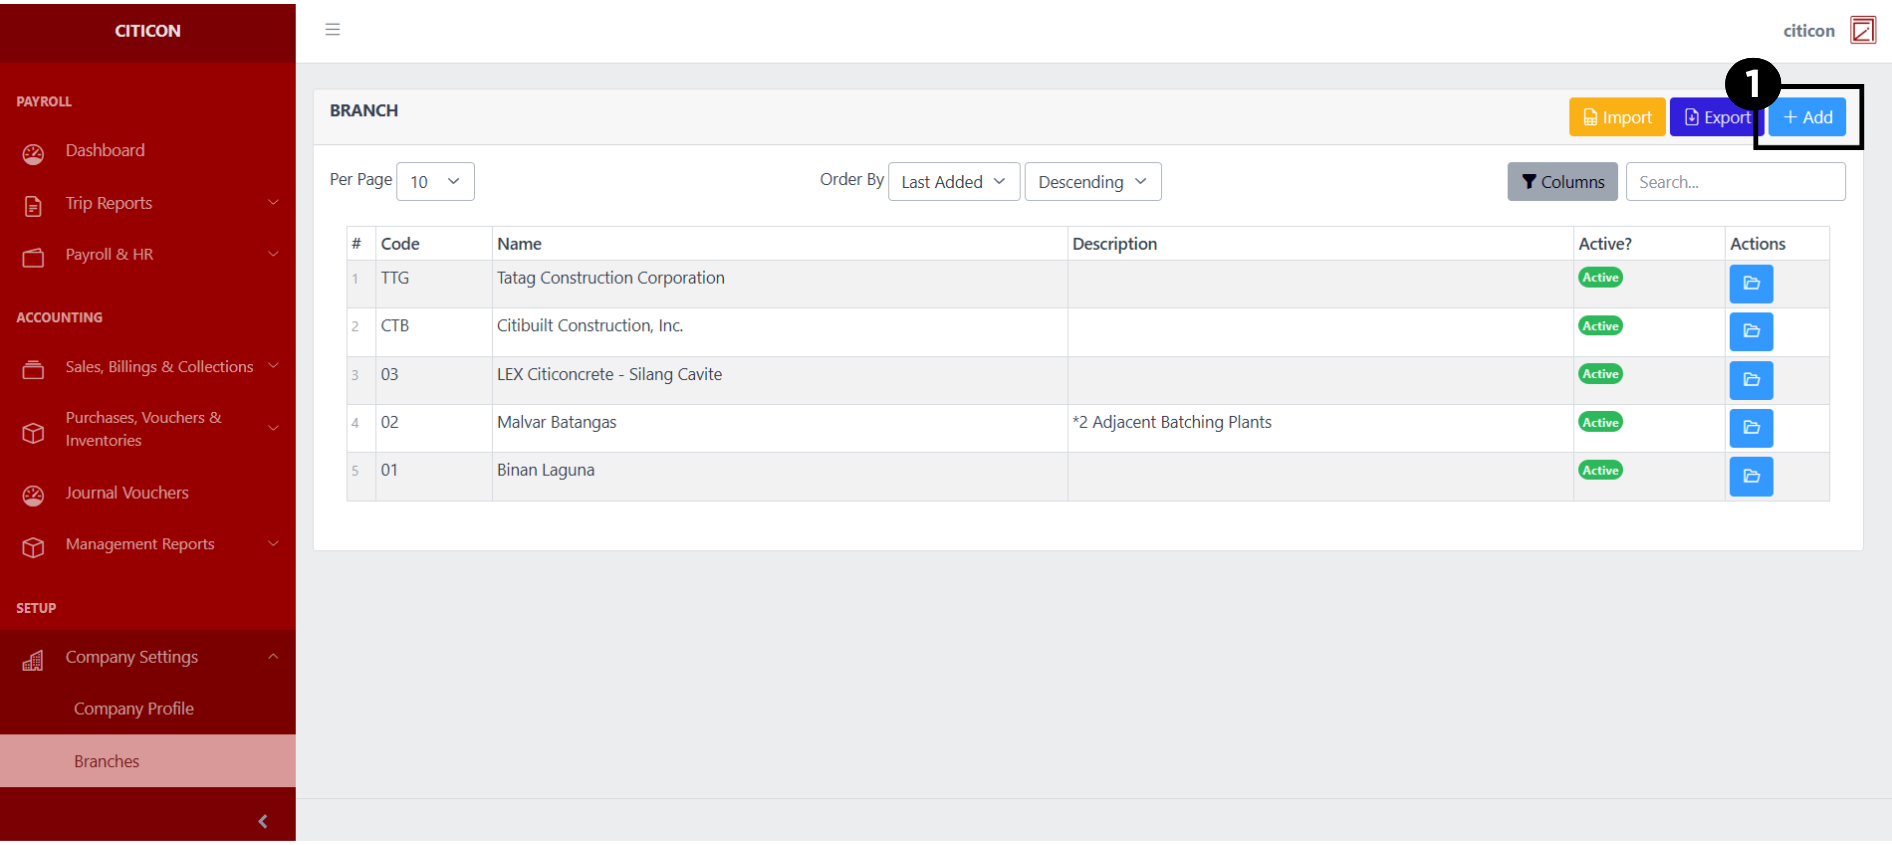
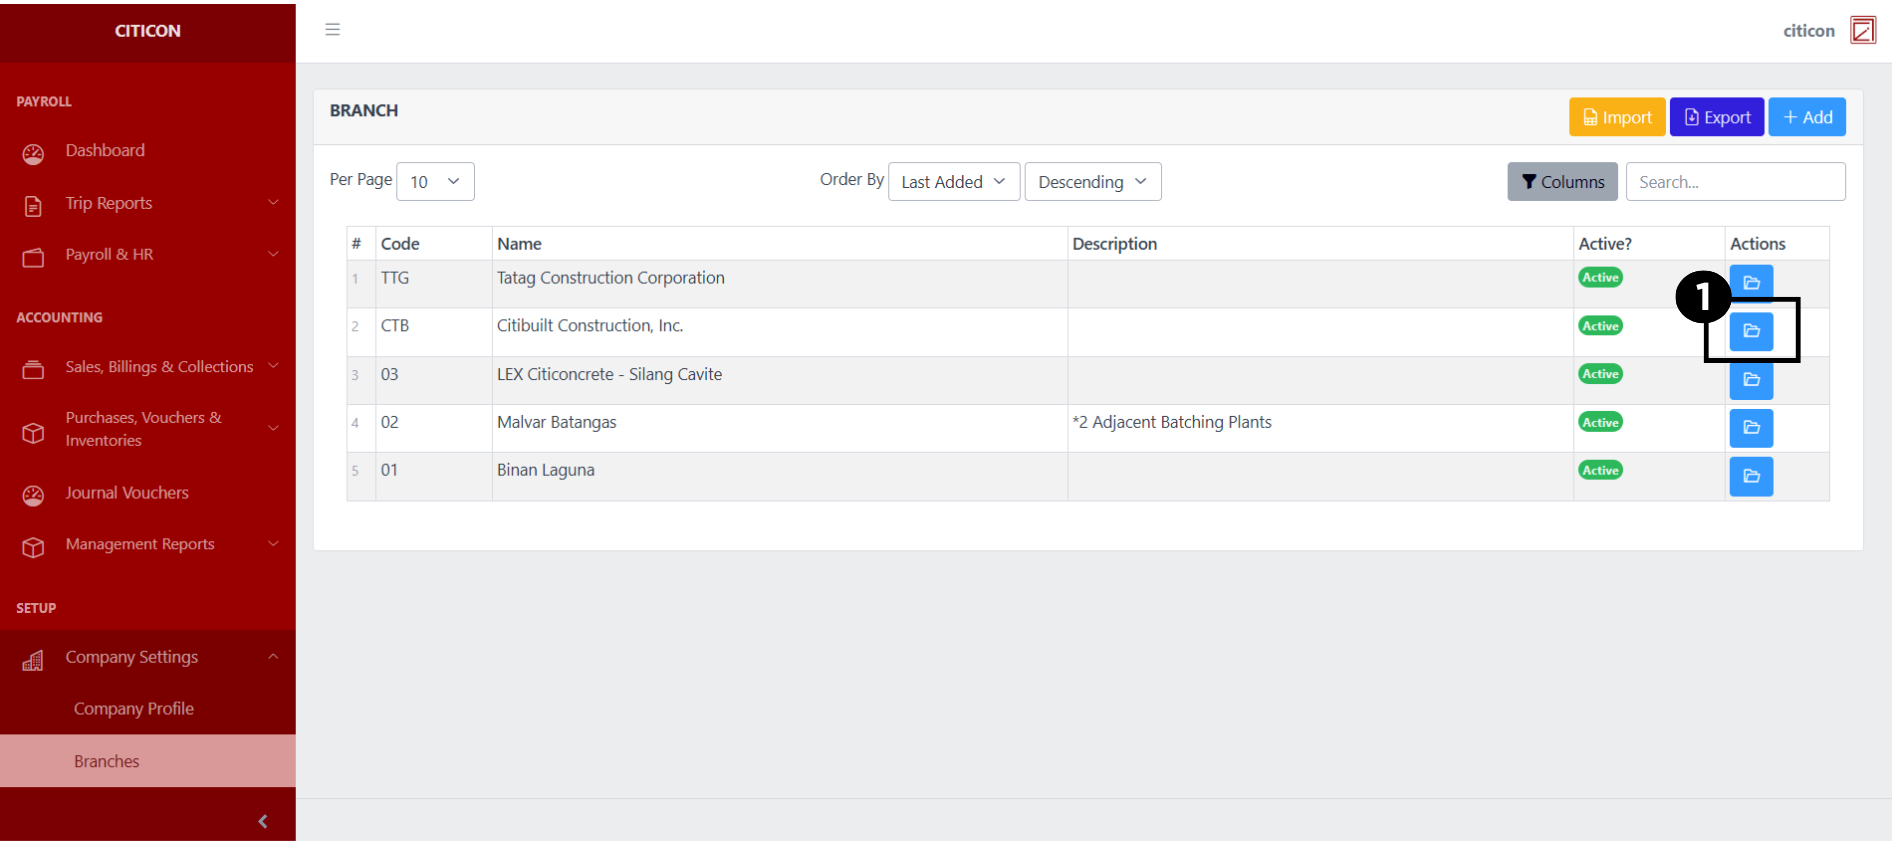
Index Page
To access the Branches Settings. Go to Setup, select Company Settings, then select Branches.
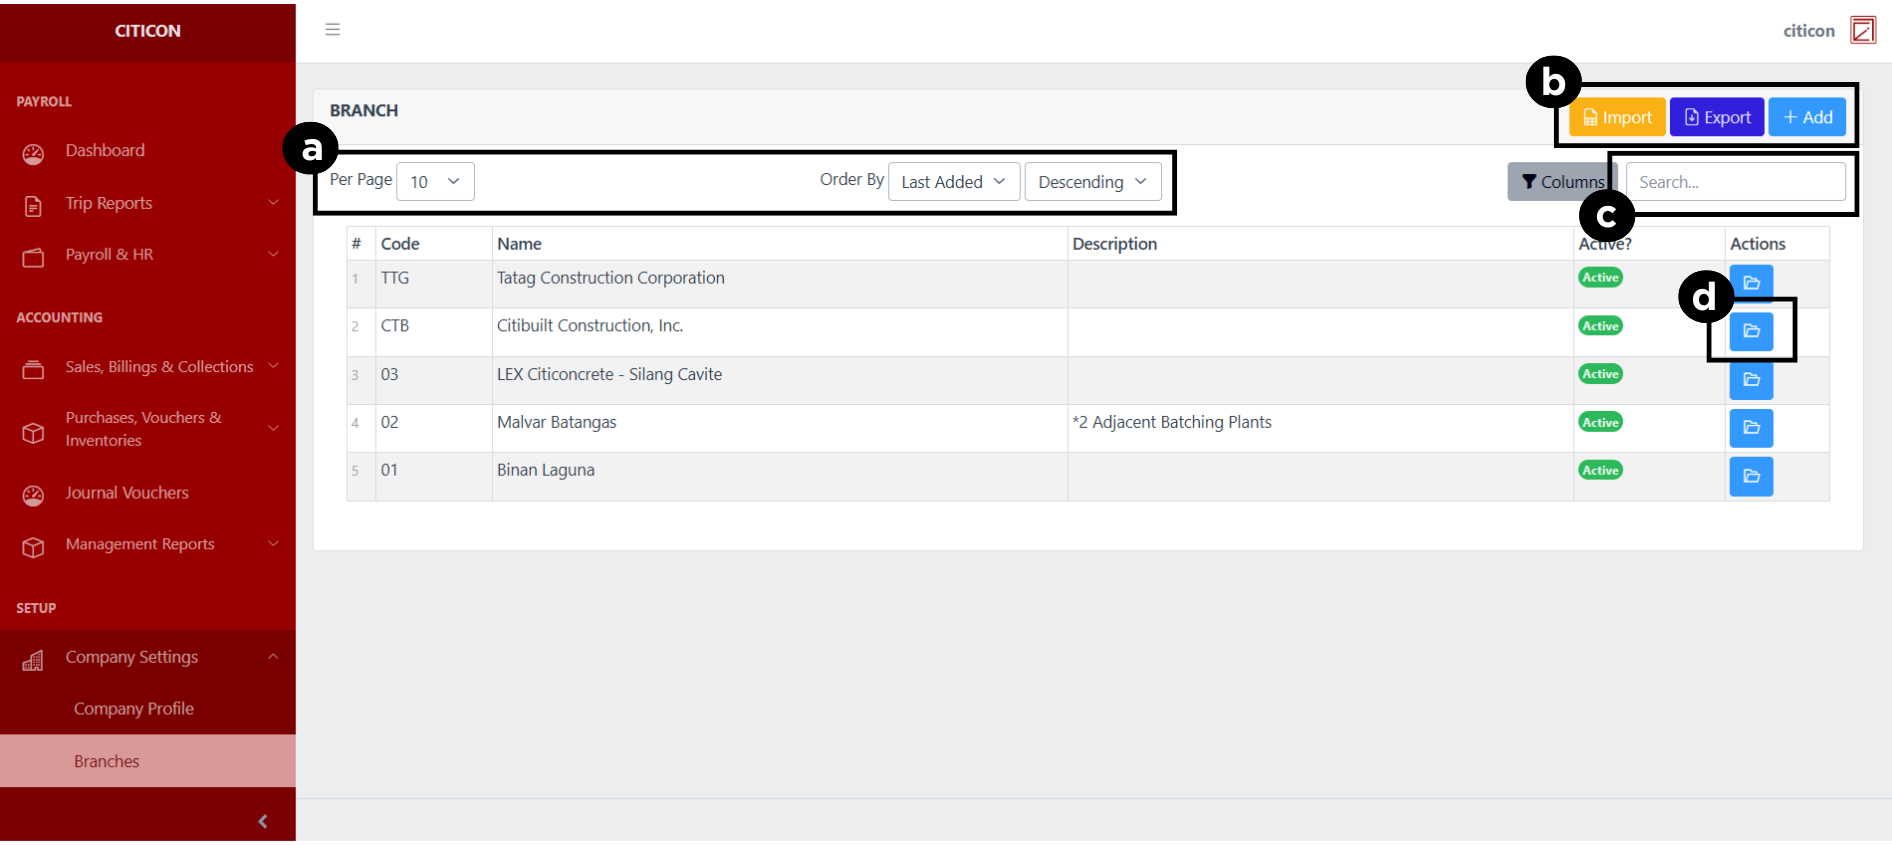
a. Adjust the paging, ordering, and sorting of the Branches Page here.
b. Select the respective button to either Import, Export, or Add data.
c. Search for specific record details using the search bar.
d. View or Edit a record by selecting the folder button.
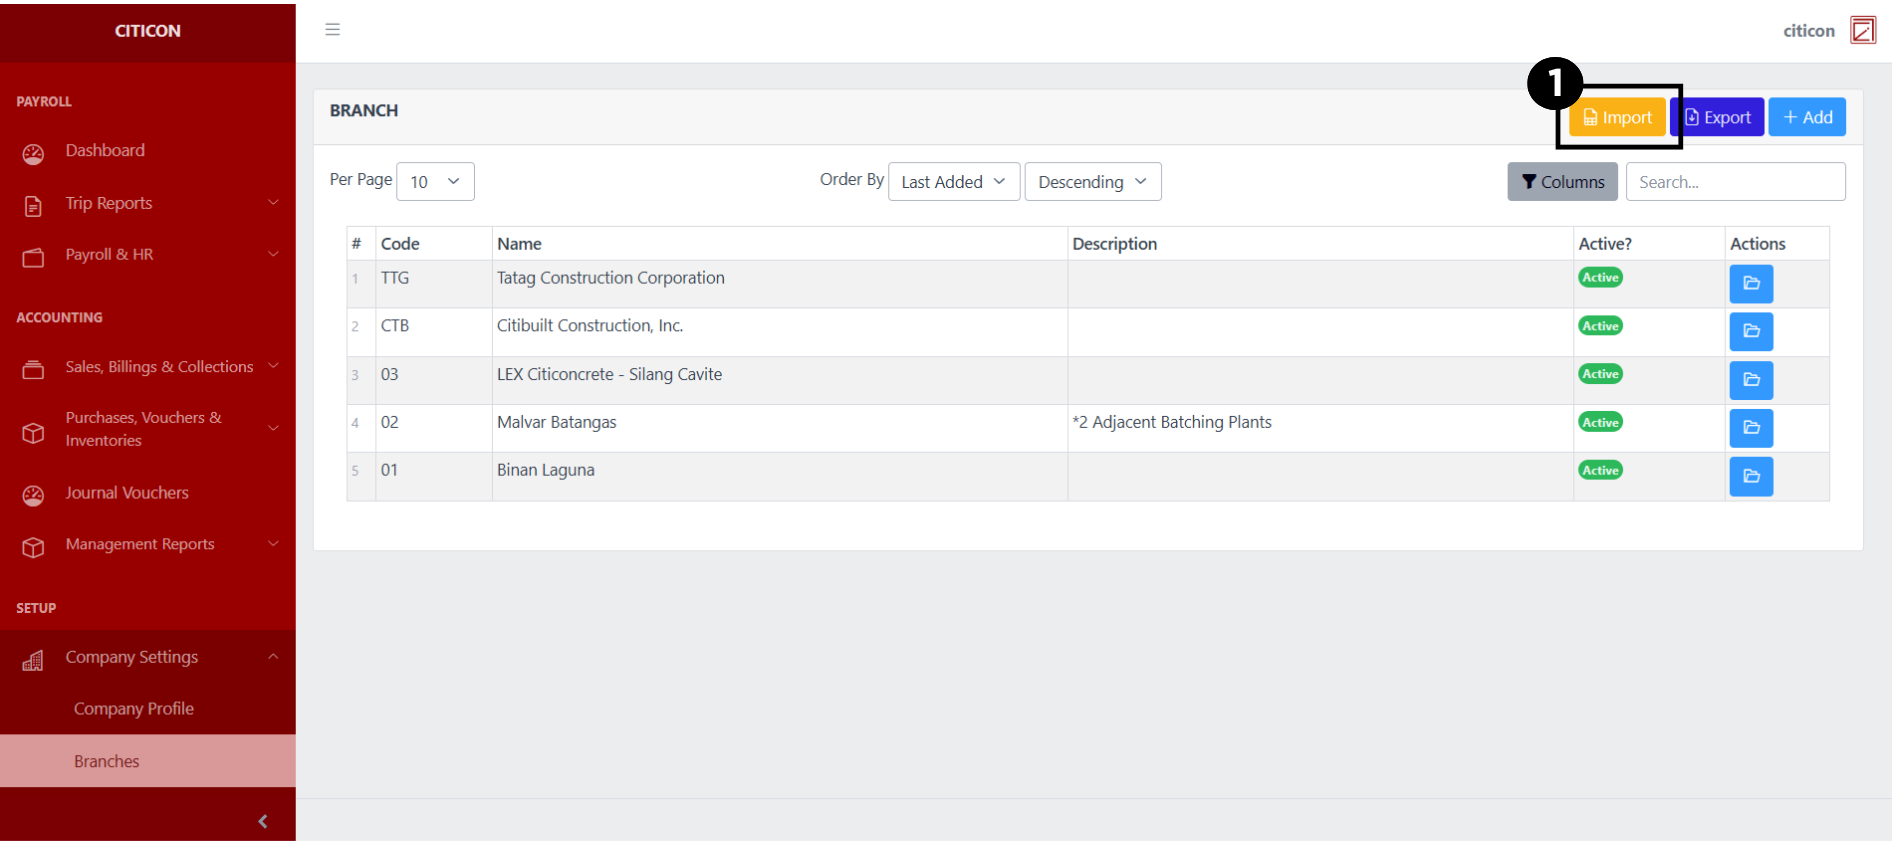
Import Data
- Select the Import button to import new records.
- Select the Choose File button.
Select the Download Template button to view the required format for imported data, including the number of columns, and mandatory fields to be filled.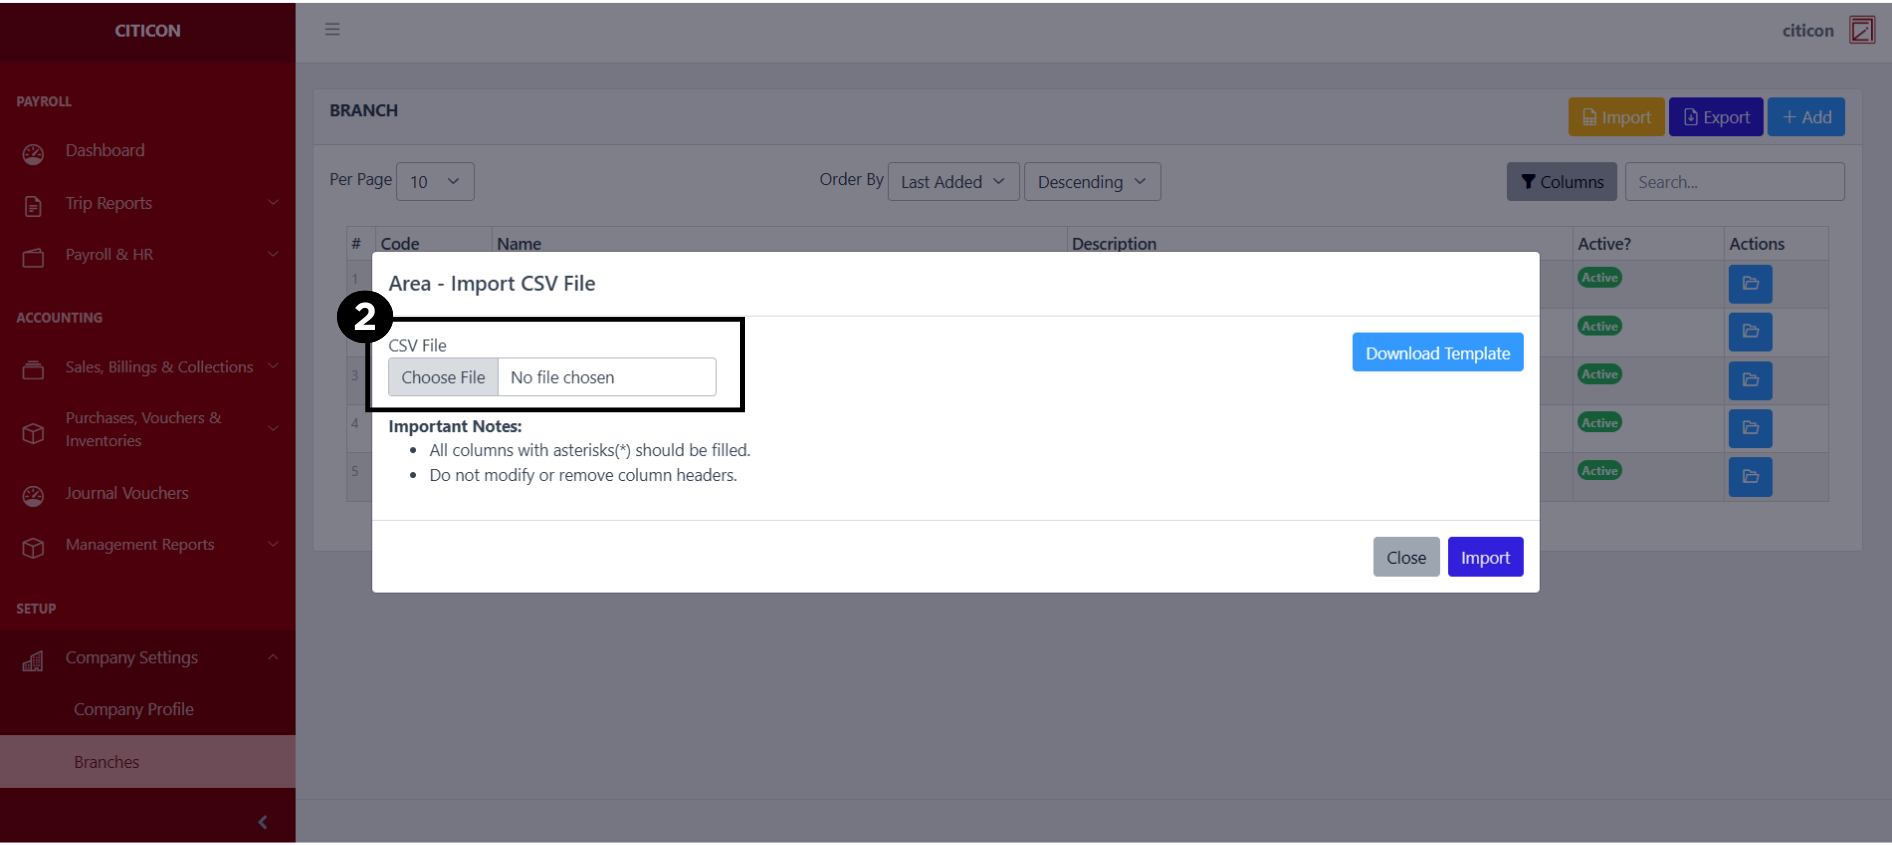
- From your local storage, select the file you want to import, then select the Open button.
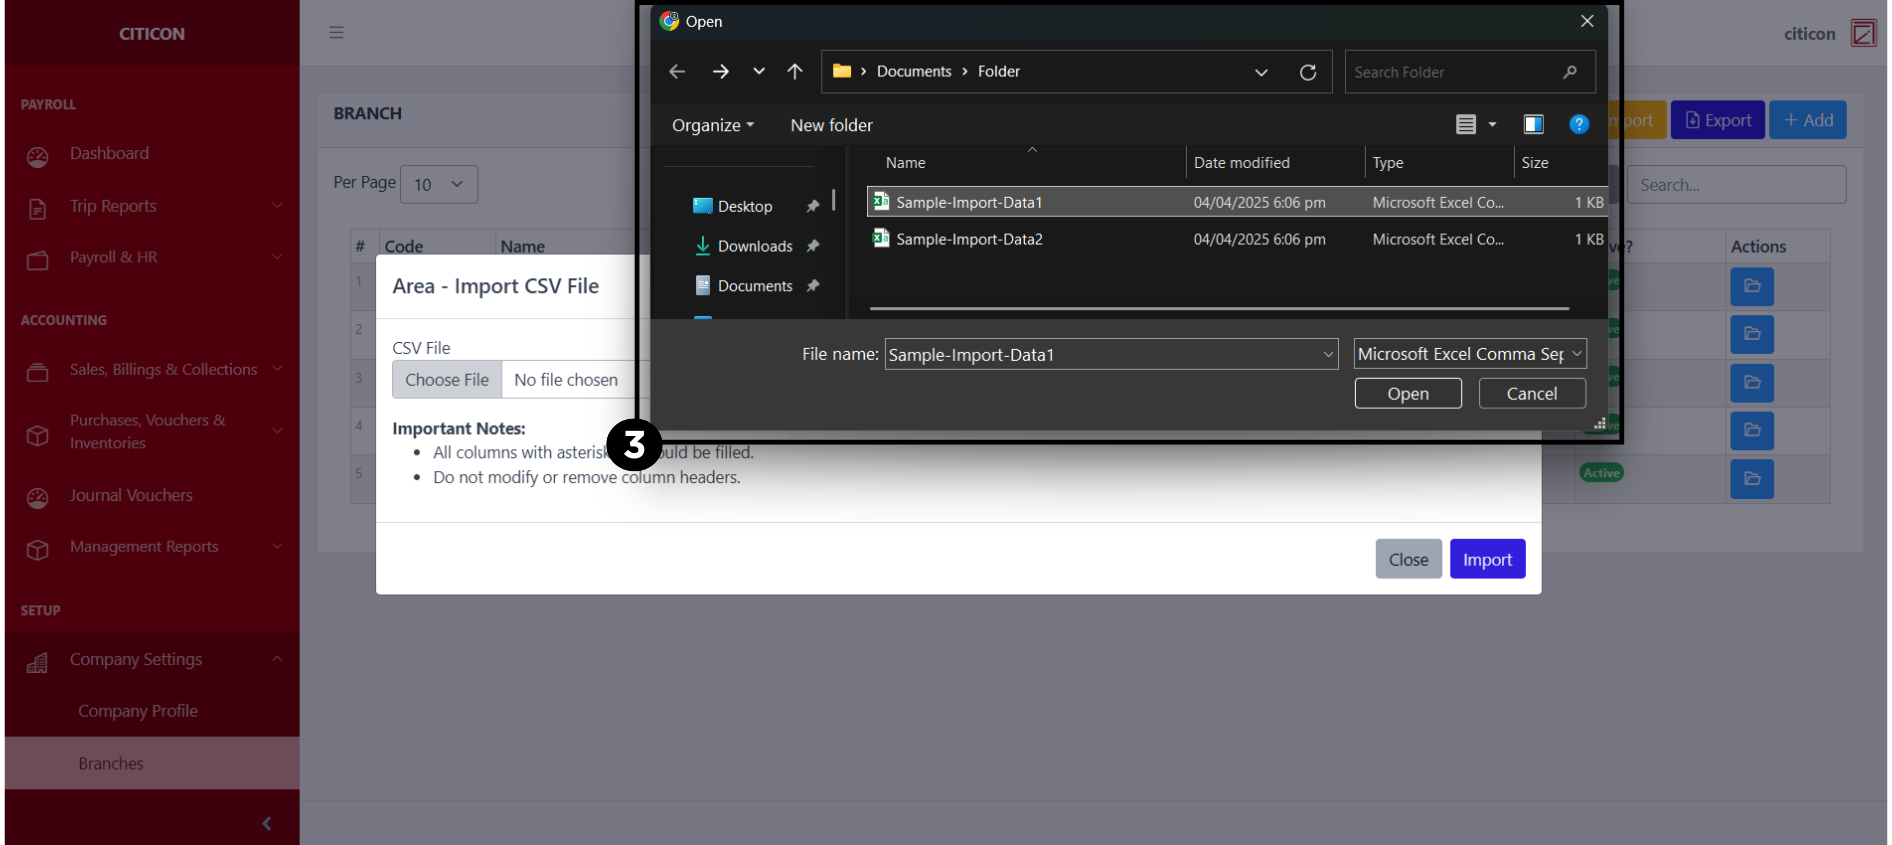
- Select the Import button.

Add Data
- Select the Add button to add a new record.
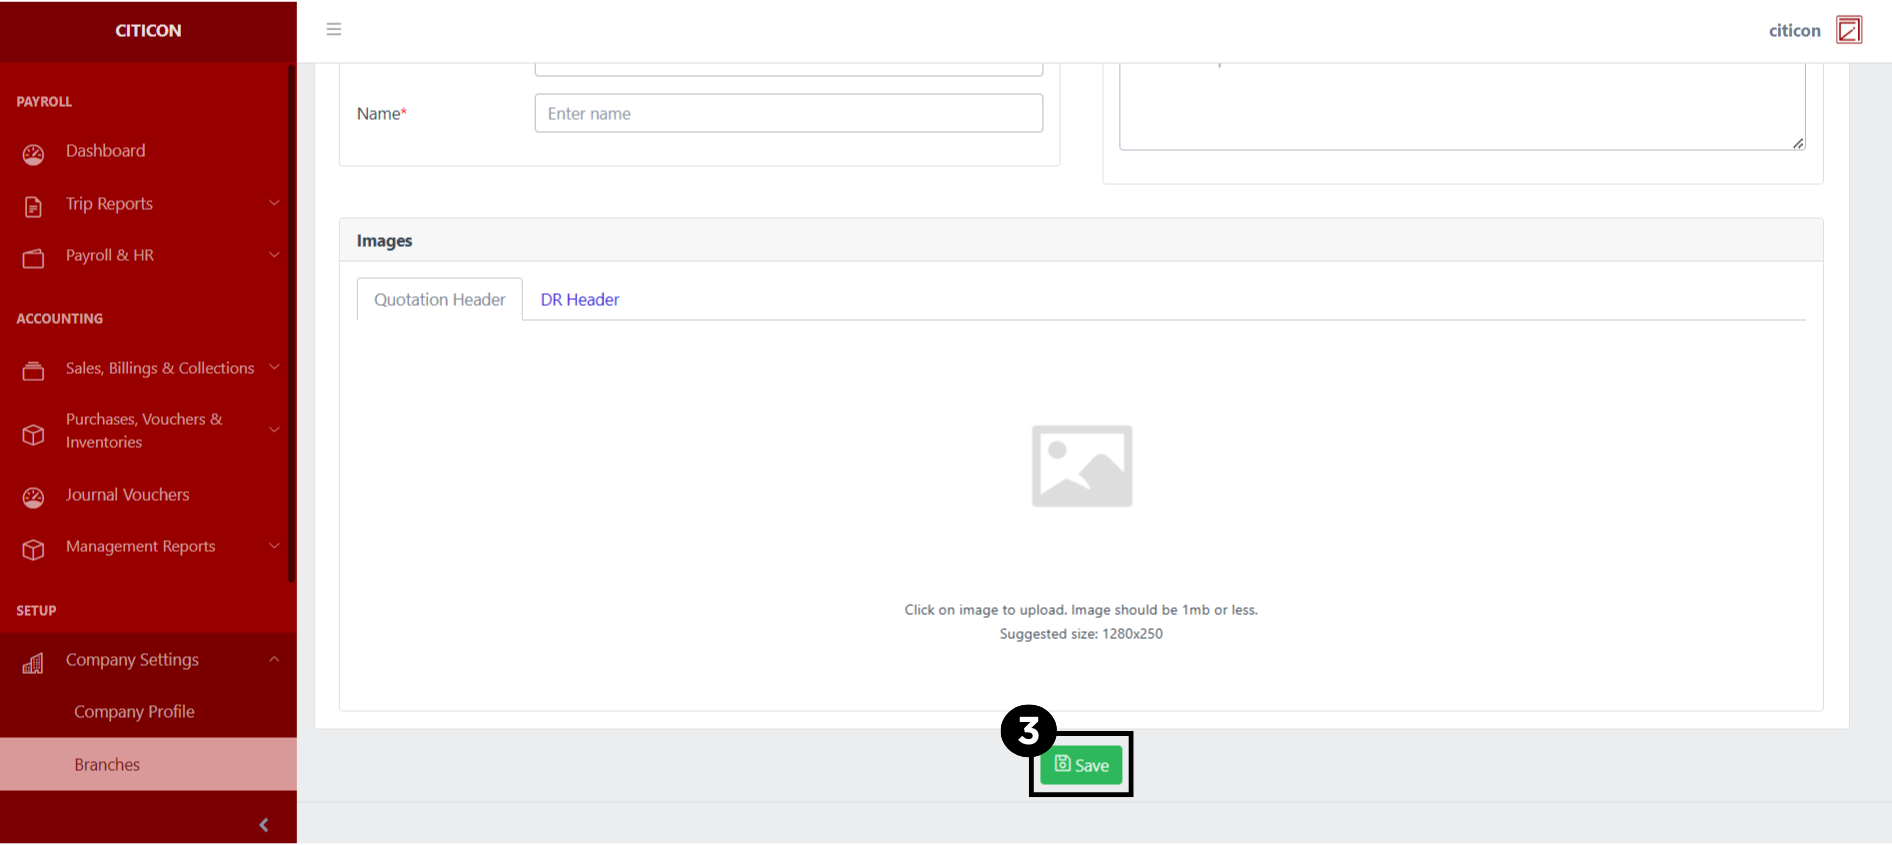
- Input the necessary details for your new record.
All fields that has an asterisk (*) are required to be filled up.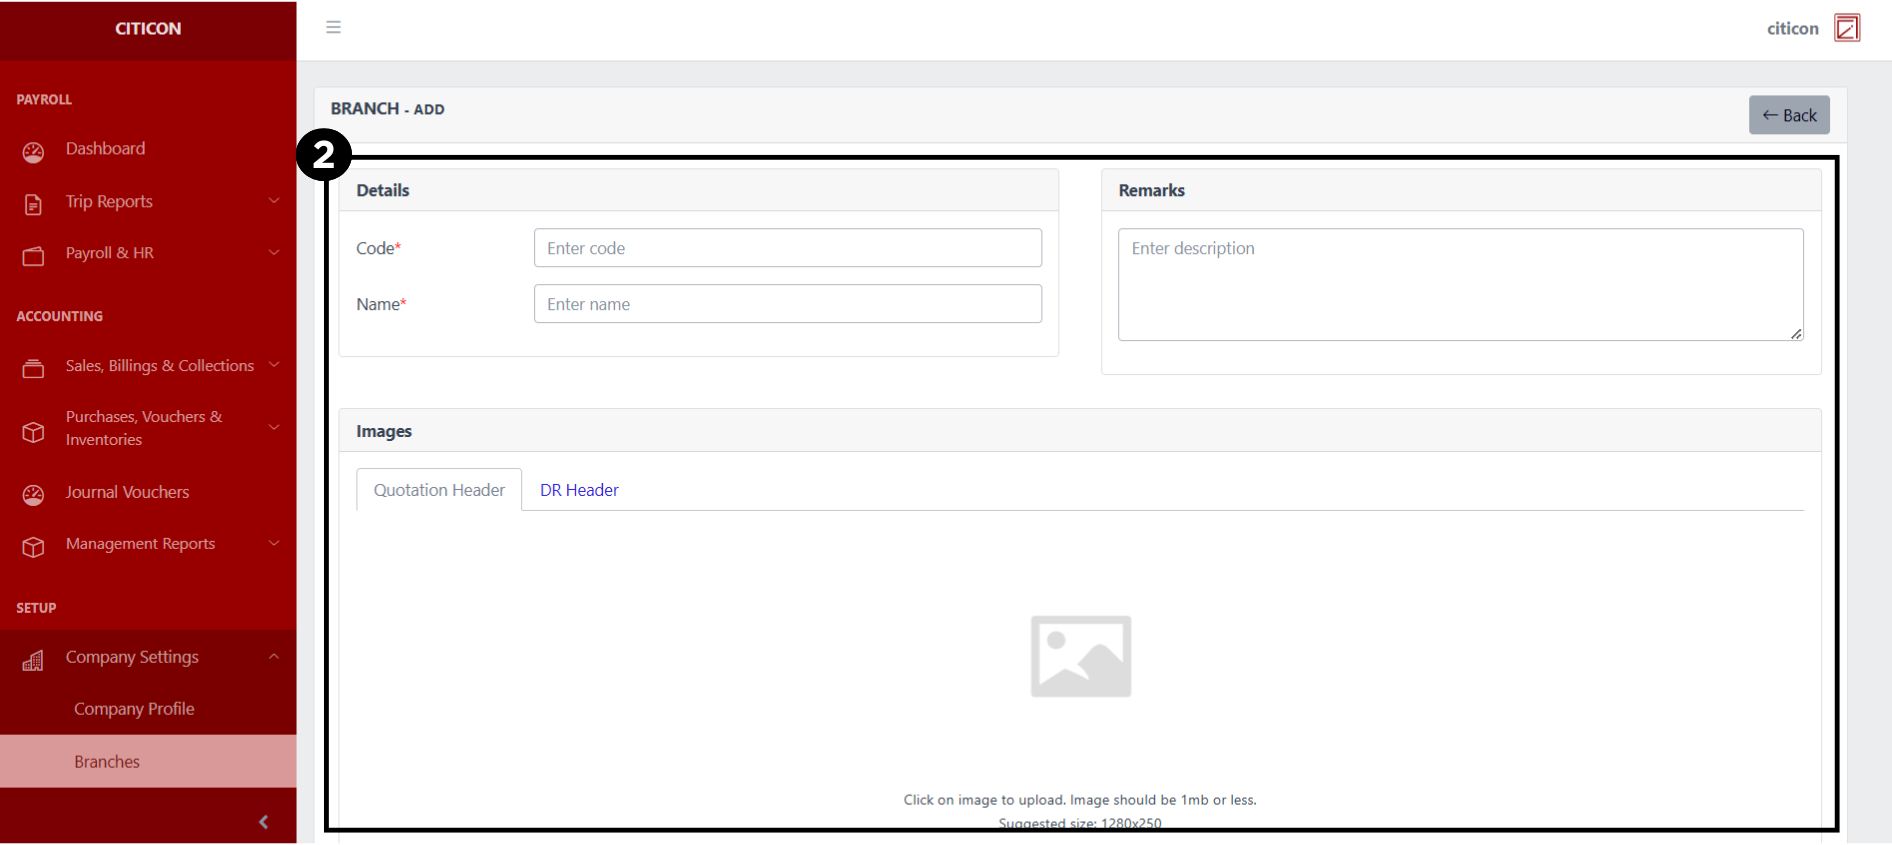
- Select the Save button to save your new record.
Show Data
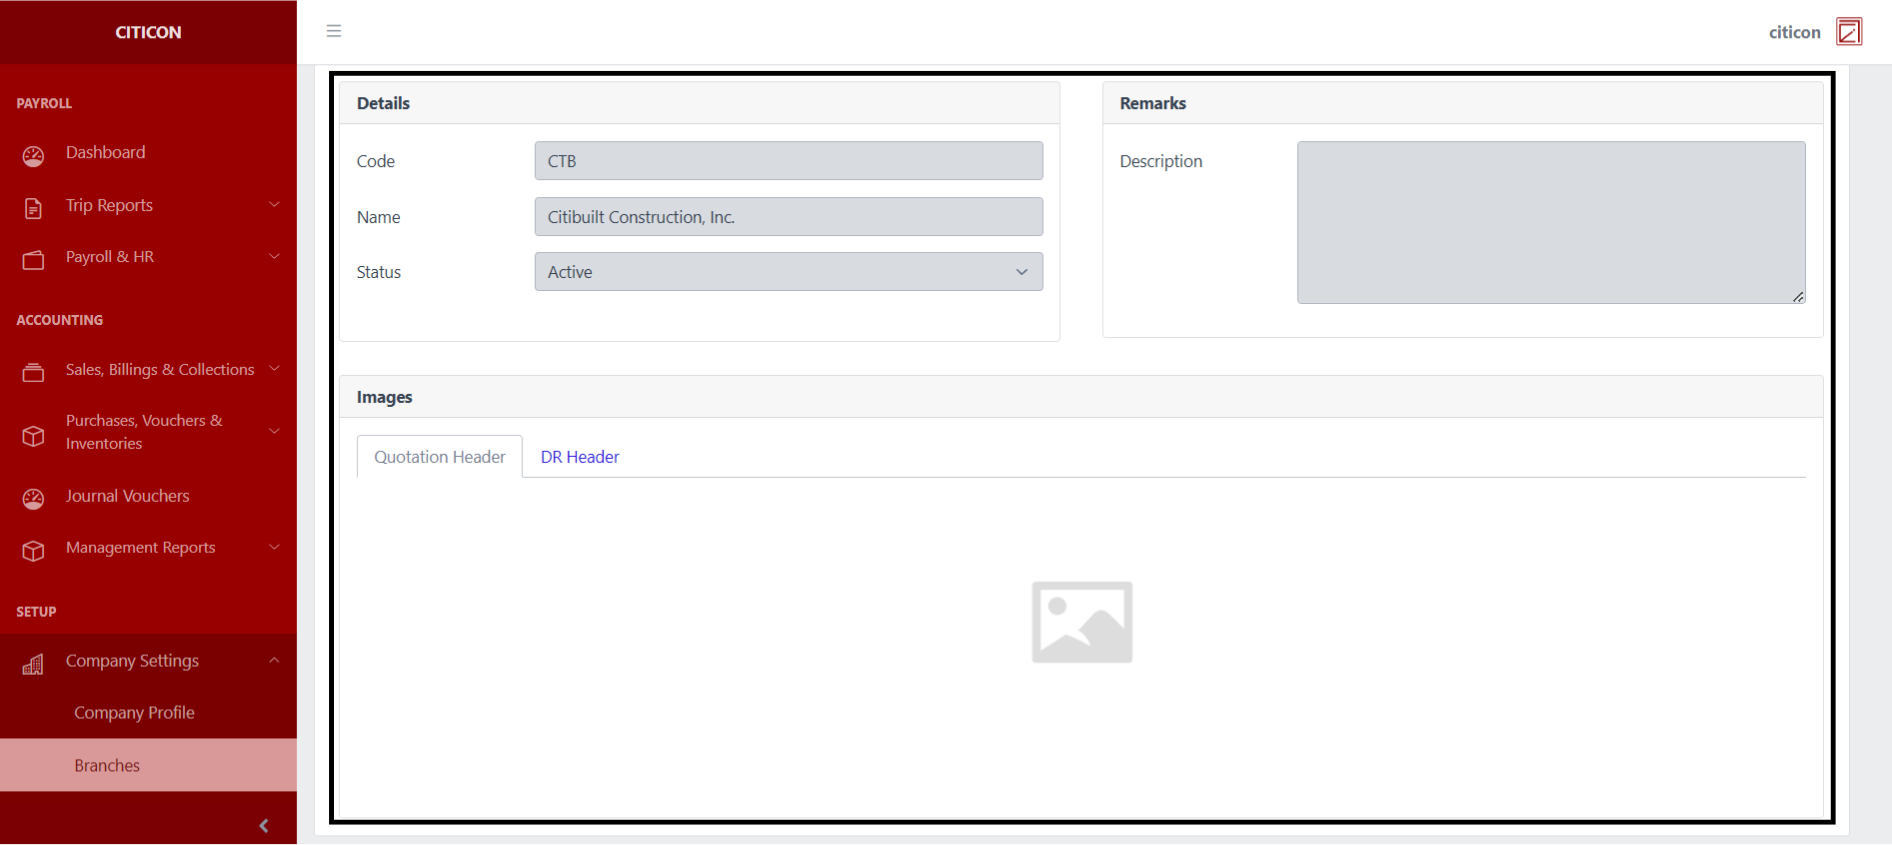
- Select the folder button to view a record.
 Here you can view more specific details on the record that you selected.
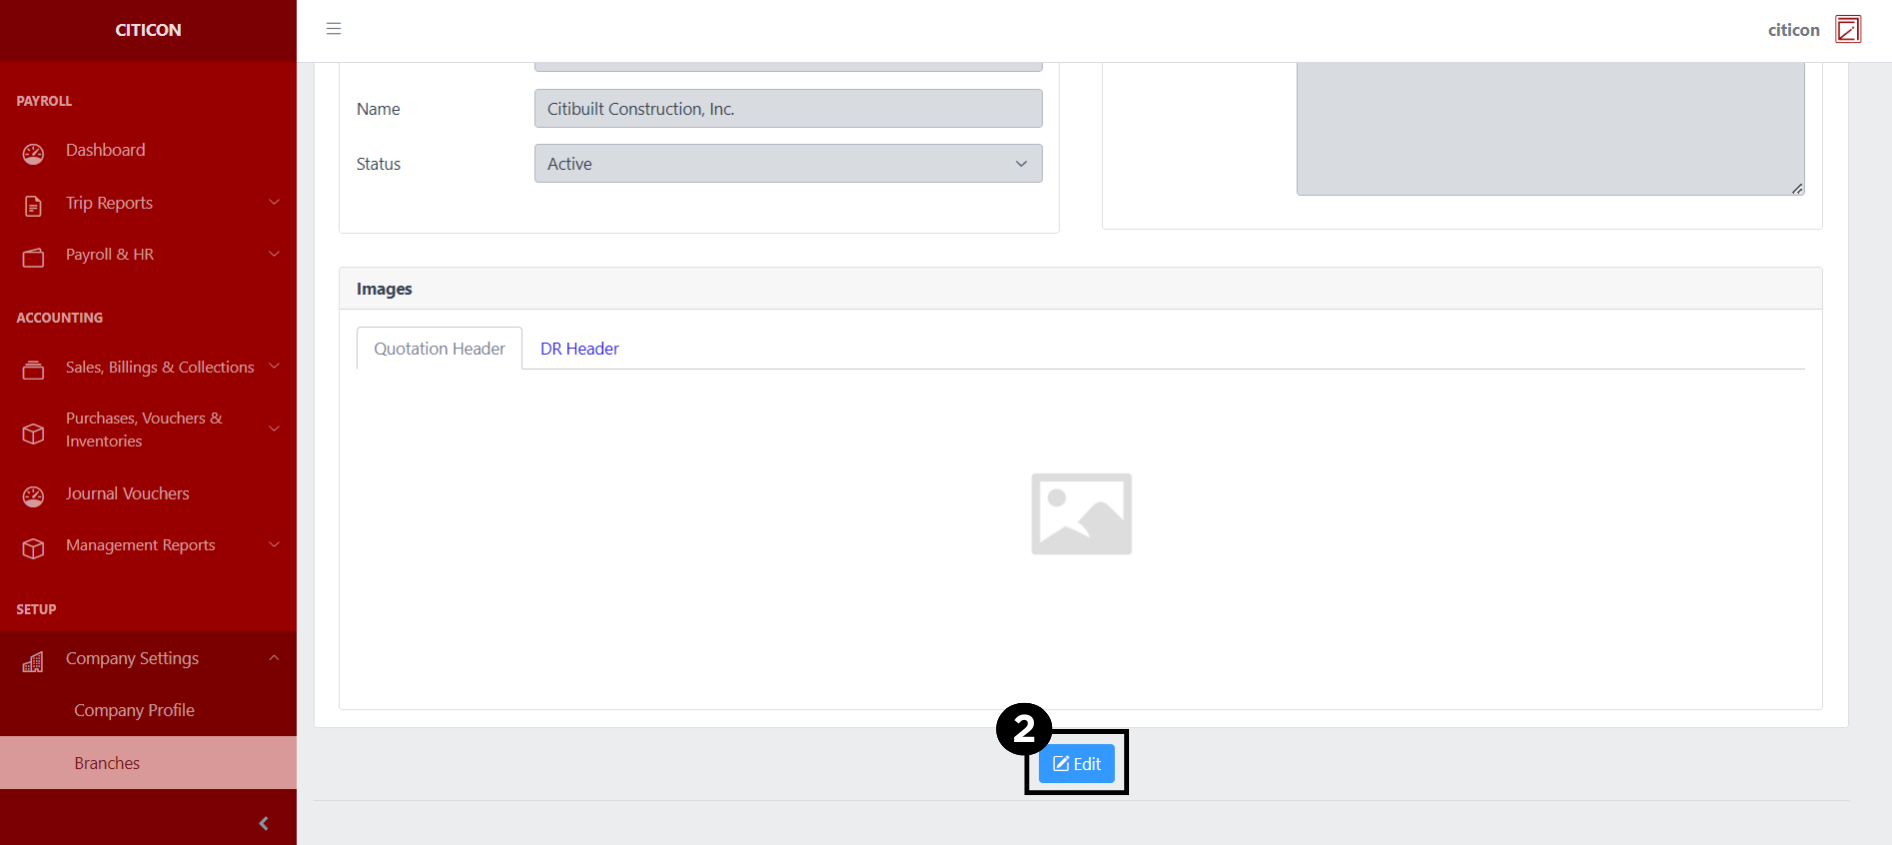
Update Data
- Select the folder button of the record which you want to edit.
- Select the Edit button to update the details of the record.
- Select a detail section which you want to edit, and enter the necessary changes.
All fields with an asterisk (*) are required to be filled up.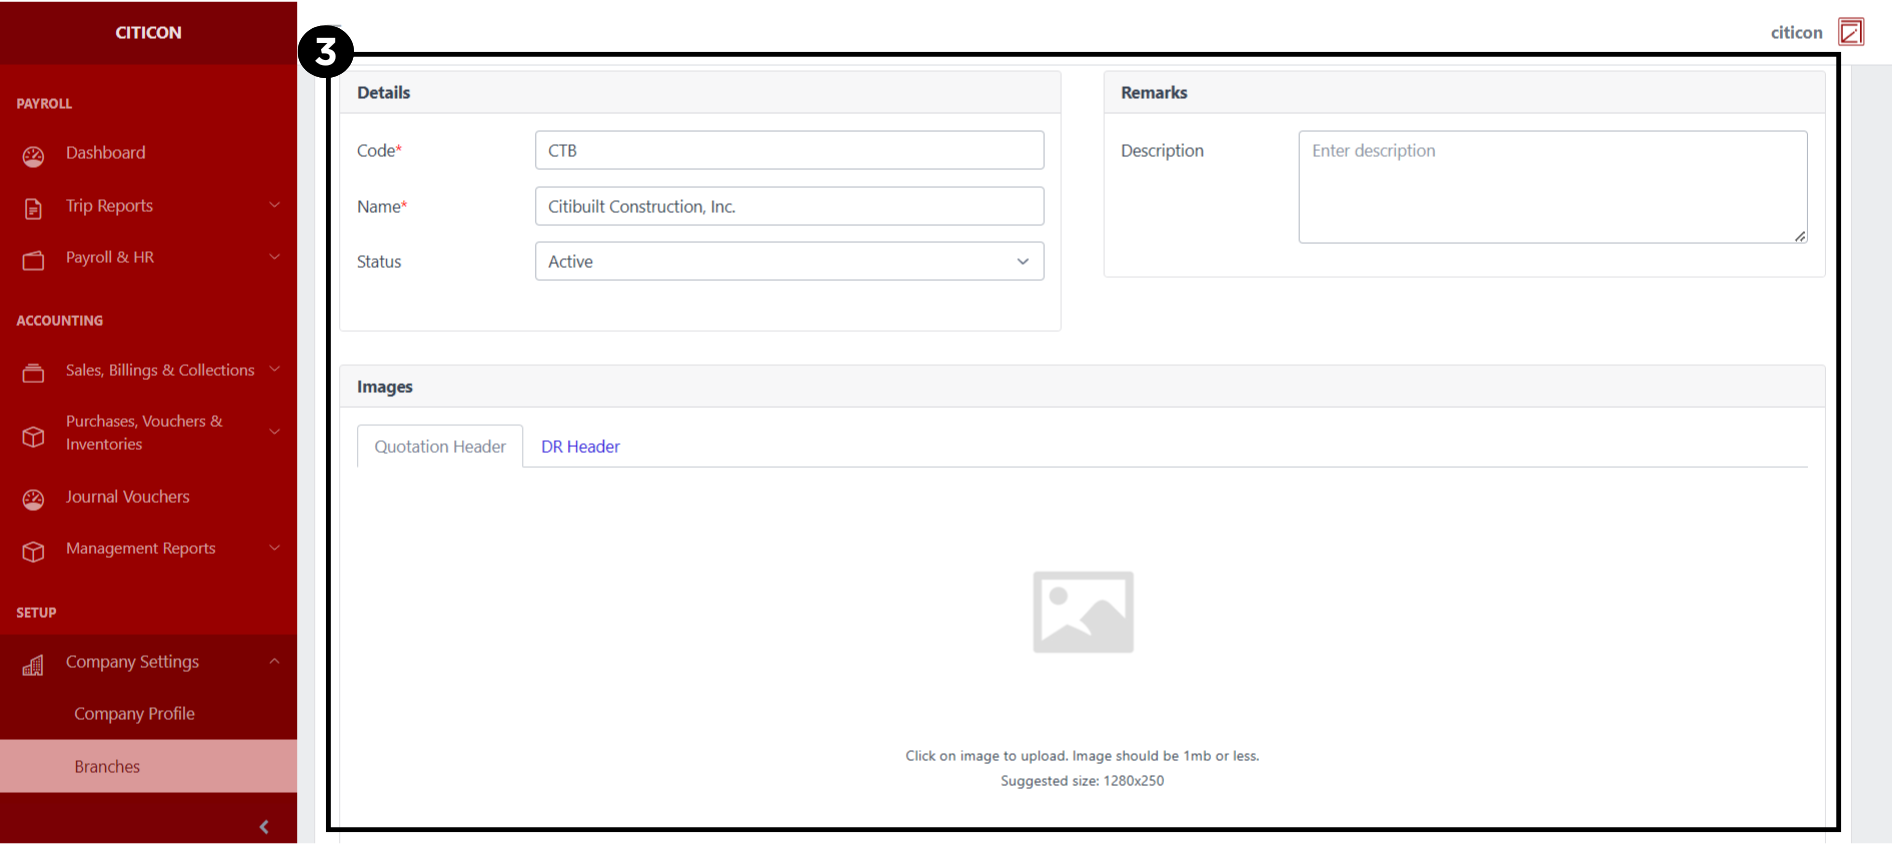
- Select the Save button to save the changes you have made.
Explore Citicon Payroll and Accounting System: Departments Settings