Sales, Billings, & Collections - Pouring Schedules
Welcome to Citicon Payroll and Accounting Systems - Pouring Schedules module. This module is designed to manage and track the scheduling of concrete pouring activities, ensuring efficient coordination between sales, operations, and client requirements.
Key Purposes
- Centralized Schedule Management: Provide a consolidated platform for creating and managing all concrete pouring schedules, ensuring real-time visibility and coordination.
- Seamless Data Integration: Allow for the creation of pouring schedules directly from approved Pouring Schedules or for special client requests, minimizing manual data entry and ensuring consistency.
- Detailed Event Tracking: Capture essential information for each scheduled pour, including quotation details, customer and project information, and precise date and time specifications.
- Workflow Status Monitoring: Enable tracking of the status and approval level for each pouring schedule, facilitating timely execution and issue resolution.
- Batch Approval Processing: Streamline the approval process for multiple pouring schedules simultaneously, enhancing operational efficiency and reducing delays.
Pouring Schedules Module User-Manual
This section provides details, and set-by-step instructions to view, and access the Pouring Schedules module.
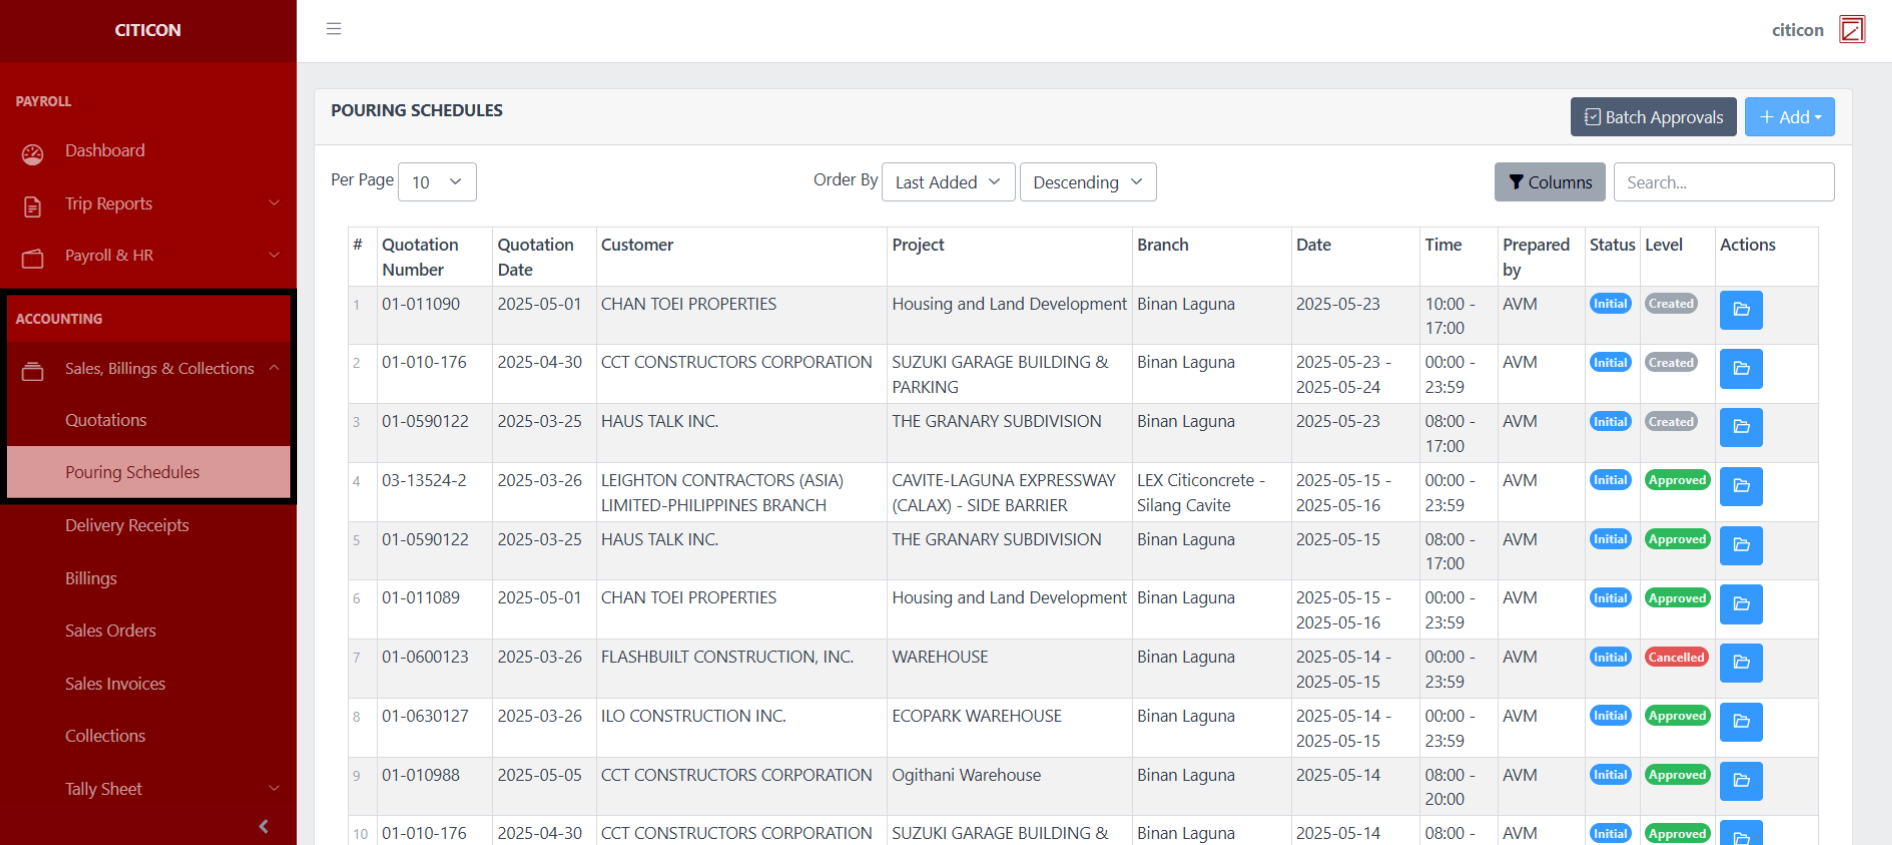
Index Page
To access the Pouring Schedules. Go to Accounting, select Sales, Billings, & Collections, then select Pouring Schedules.
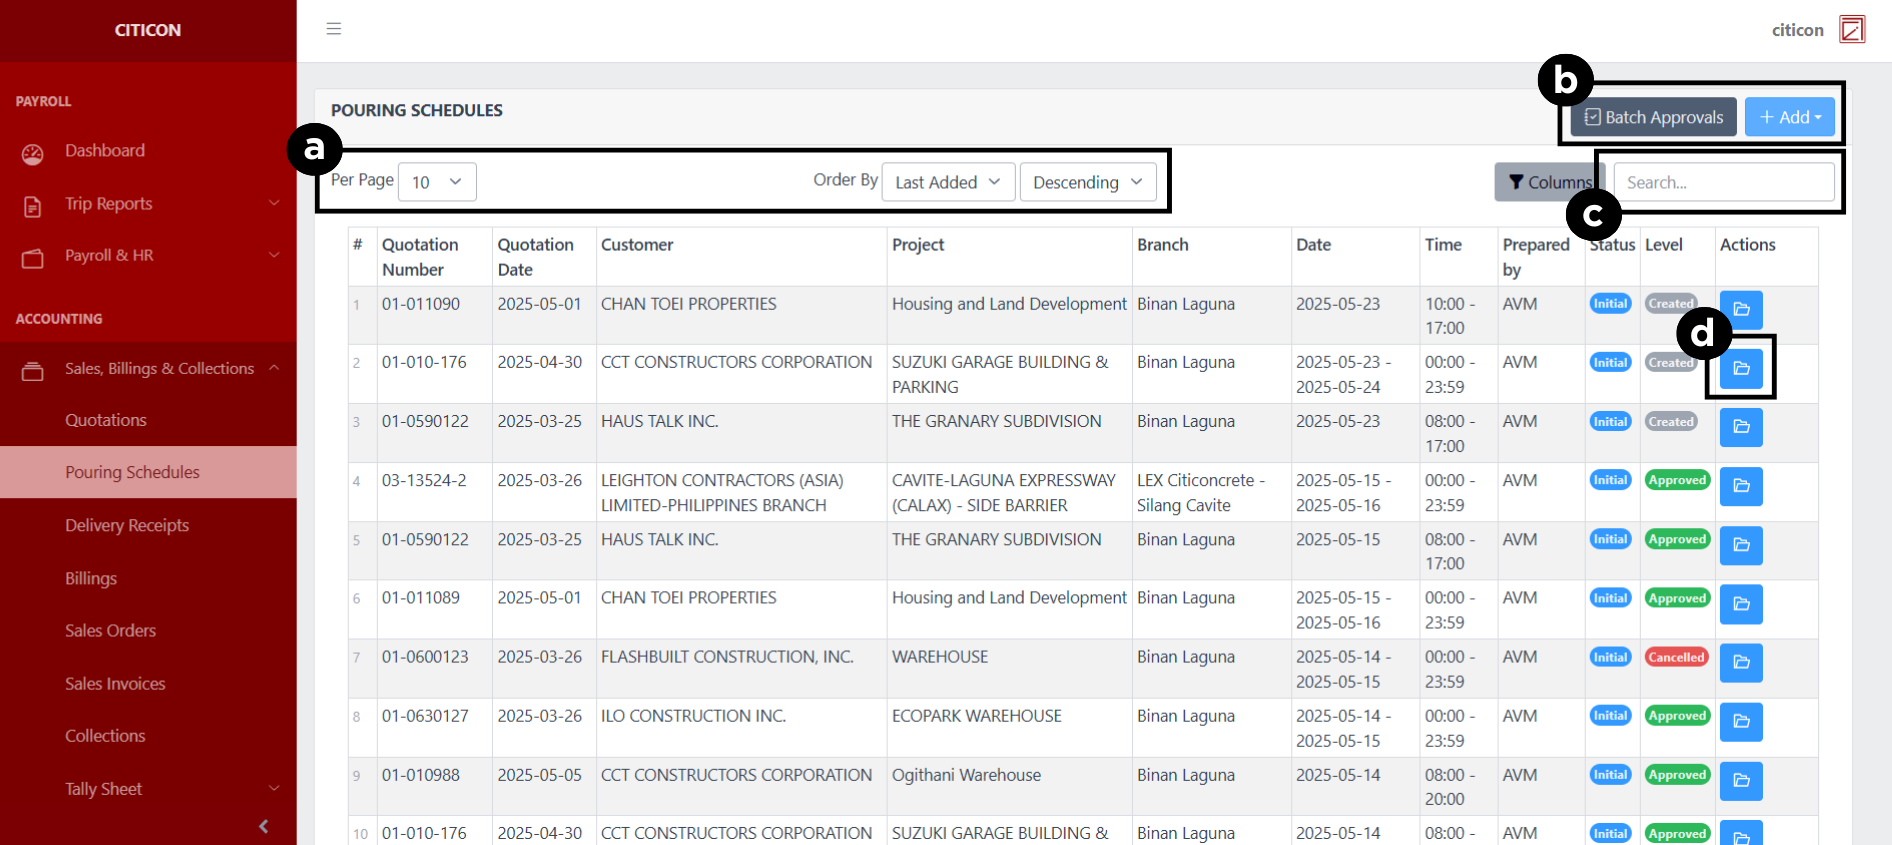
a. Adjust the paging, ordering, and sorting of the entries here.
b. Select the respective button to either Add or Approve entries.
c. Search for specific entry details using the search bar.
d. View, Edit, or Delete an entry by selecting this button.
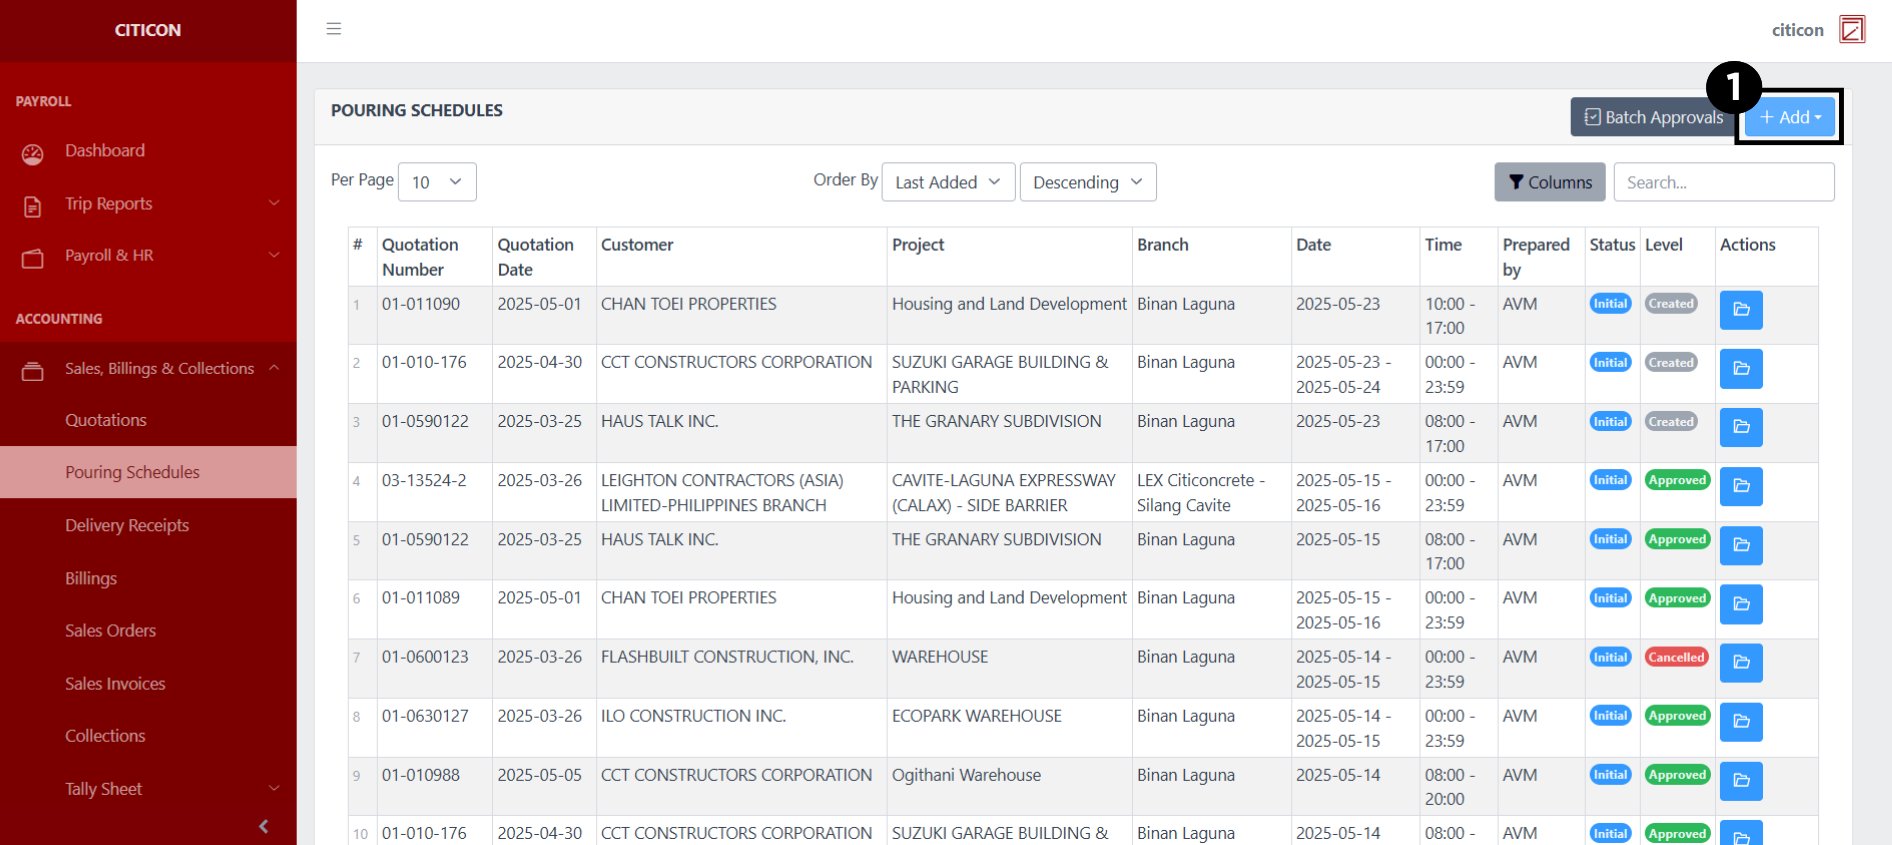
Add Entry
- Select the Add button to add a new entry.
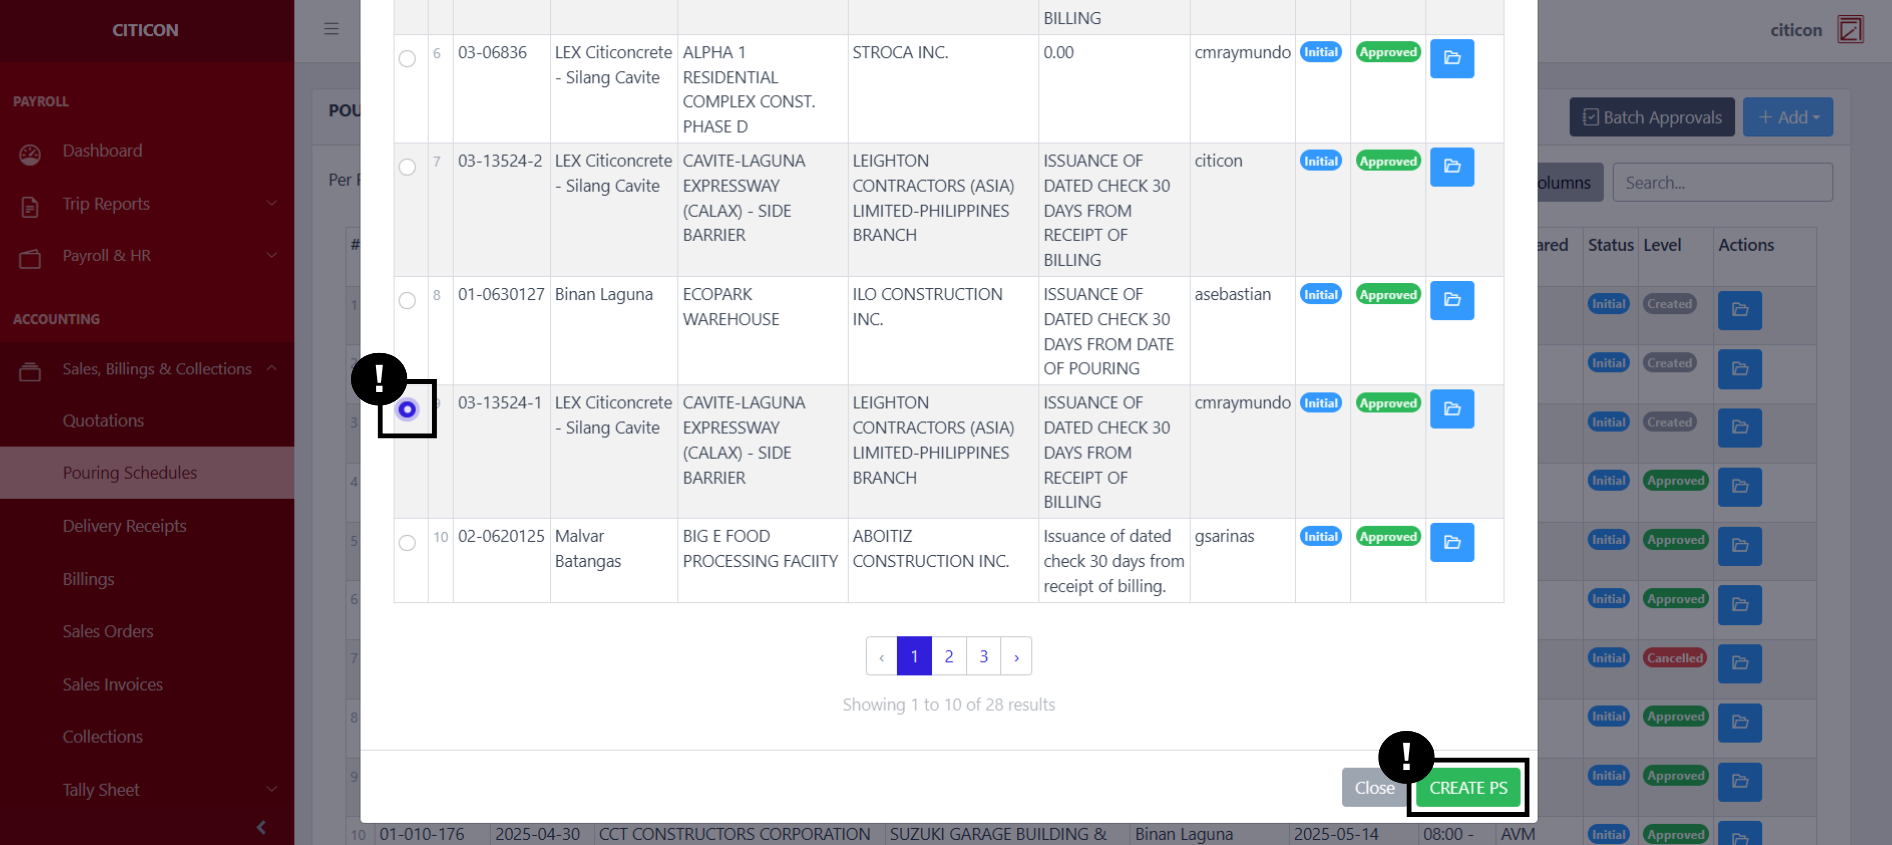
Select if the entry is From Pouring Schedules or a Special Client type.
If your Pouring Schedule is 'From Pouring Schedules', select a Quotation from the list, then select the CREATE PS button.
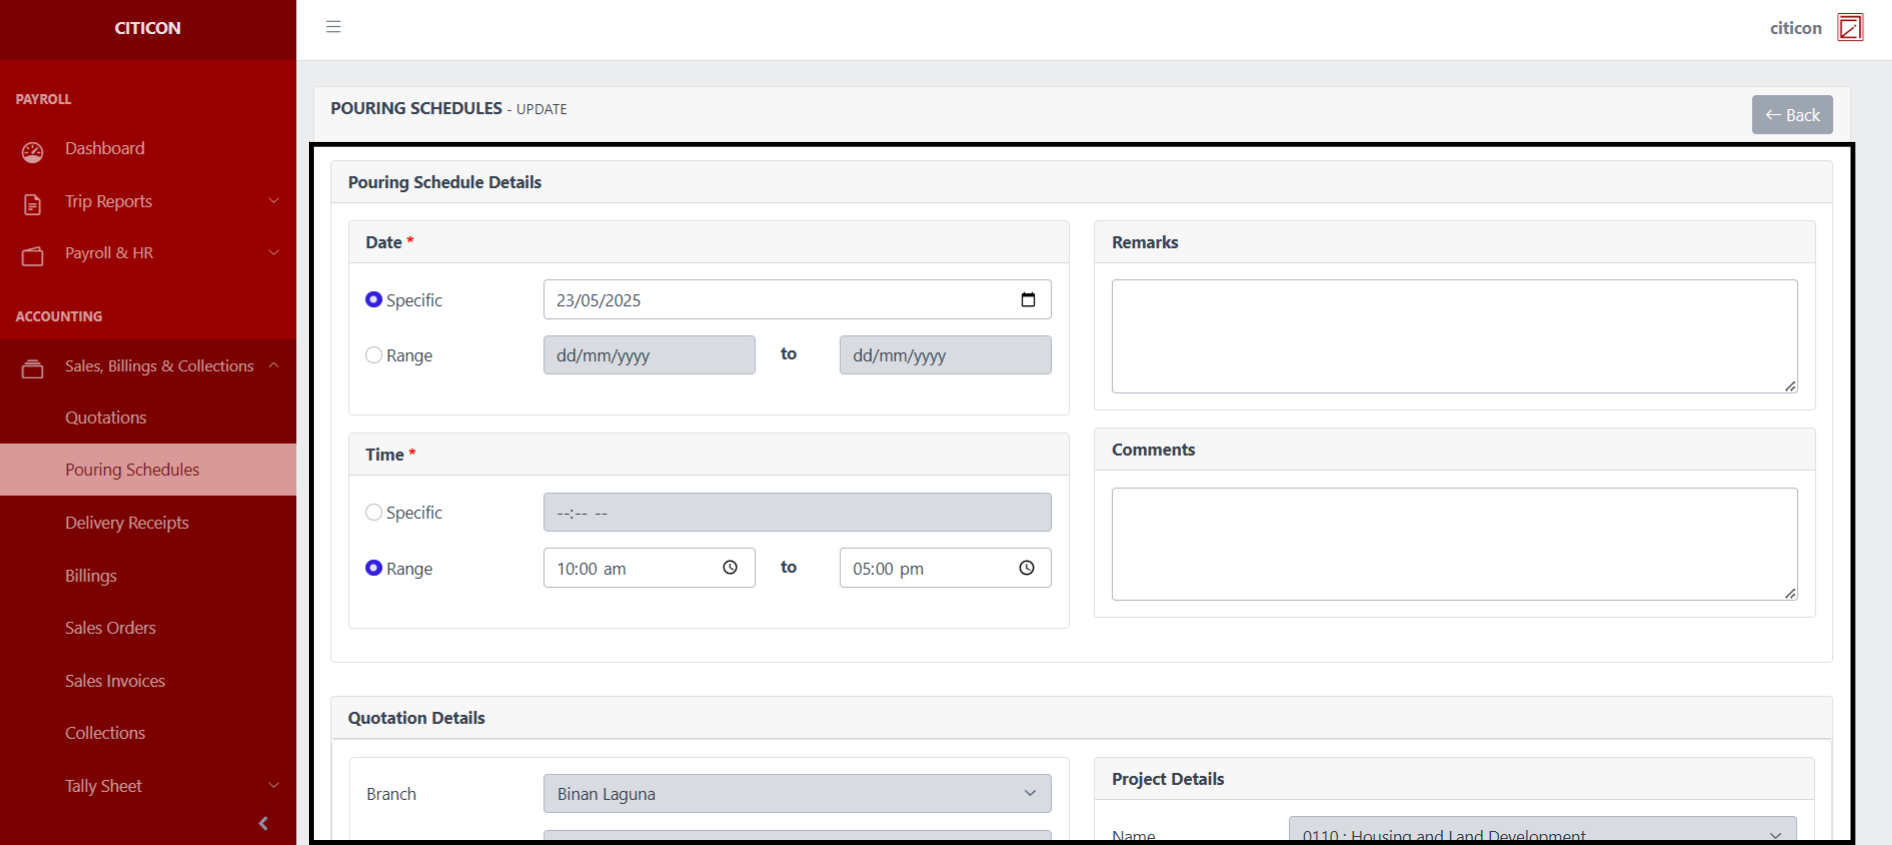
- Input the necessary details for your new entry.
All fields that has an asterisk (*) are required to be filled up.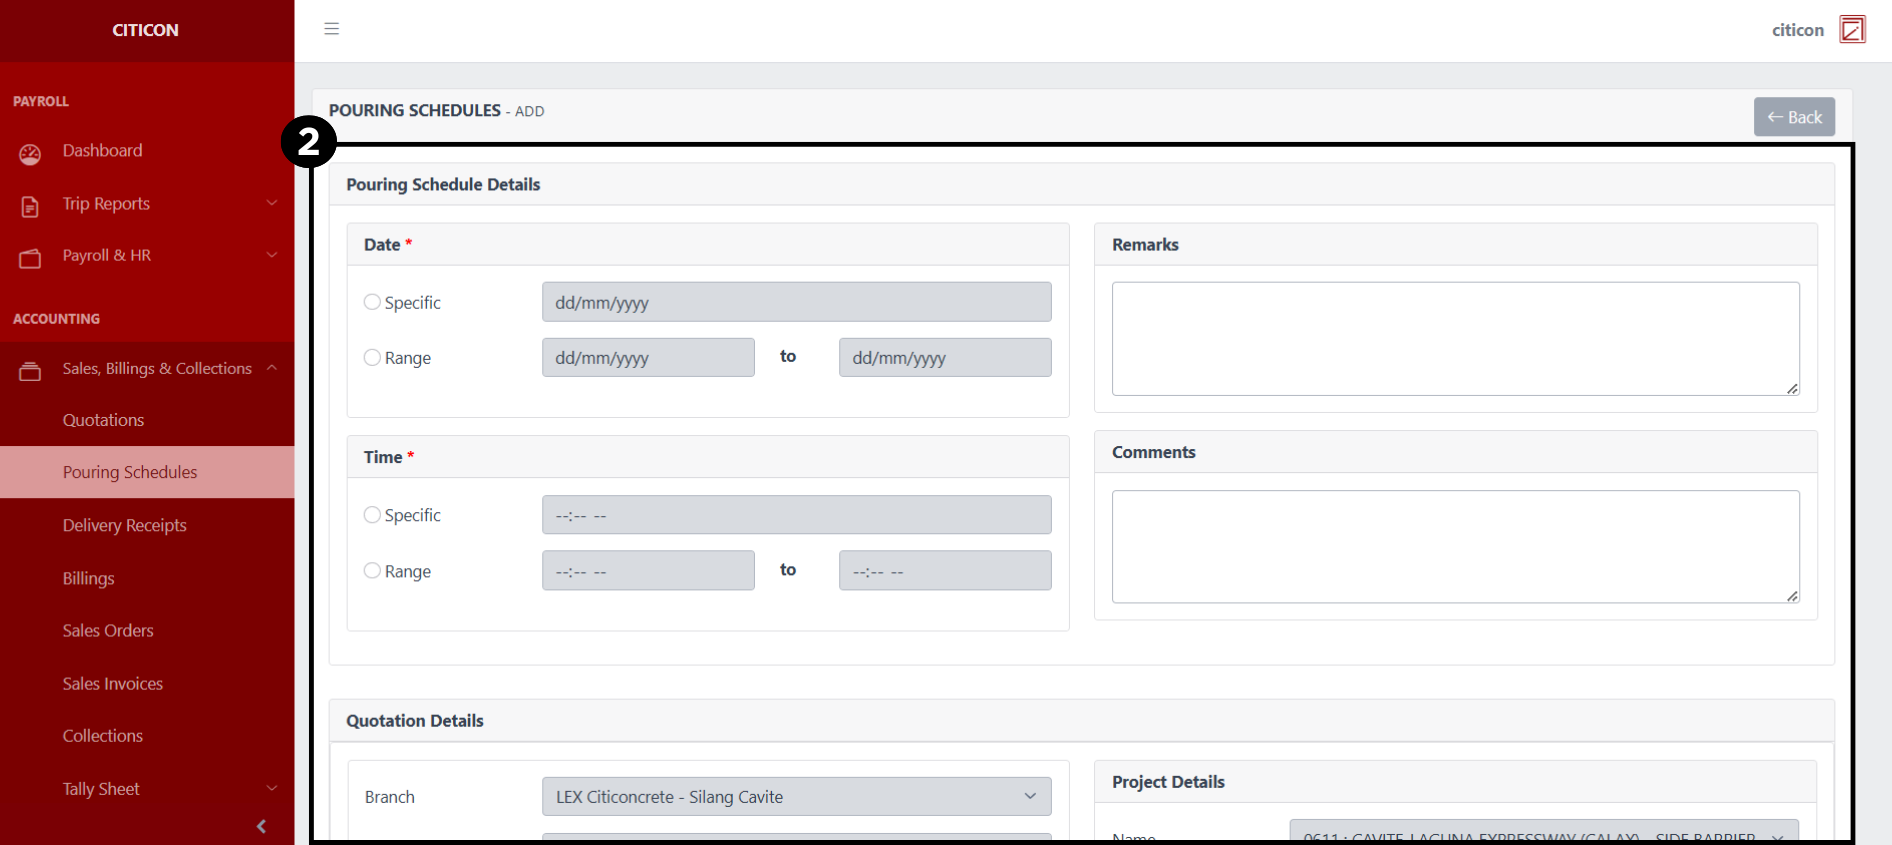
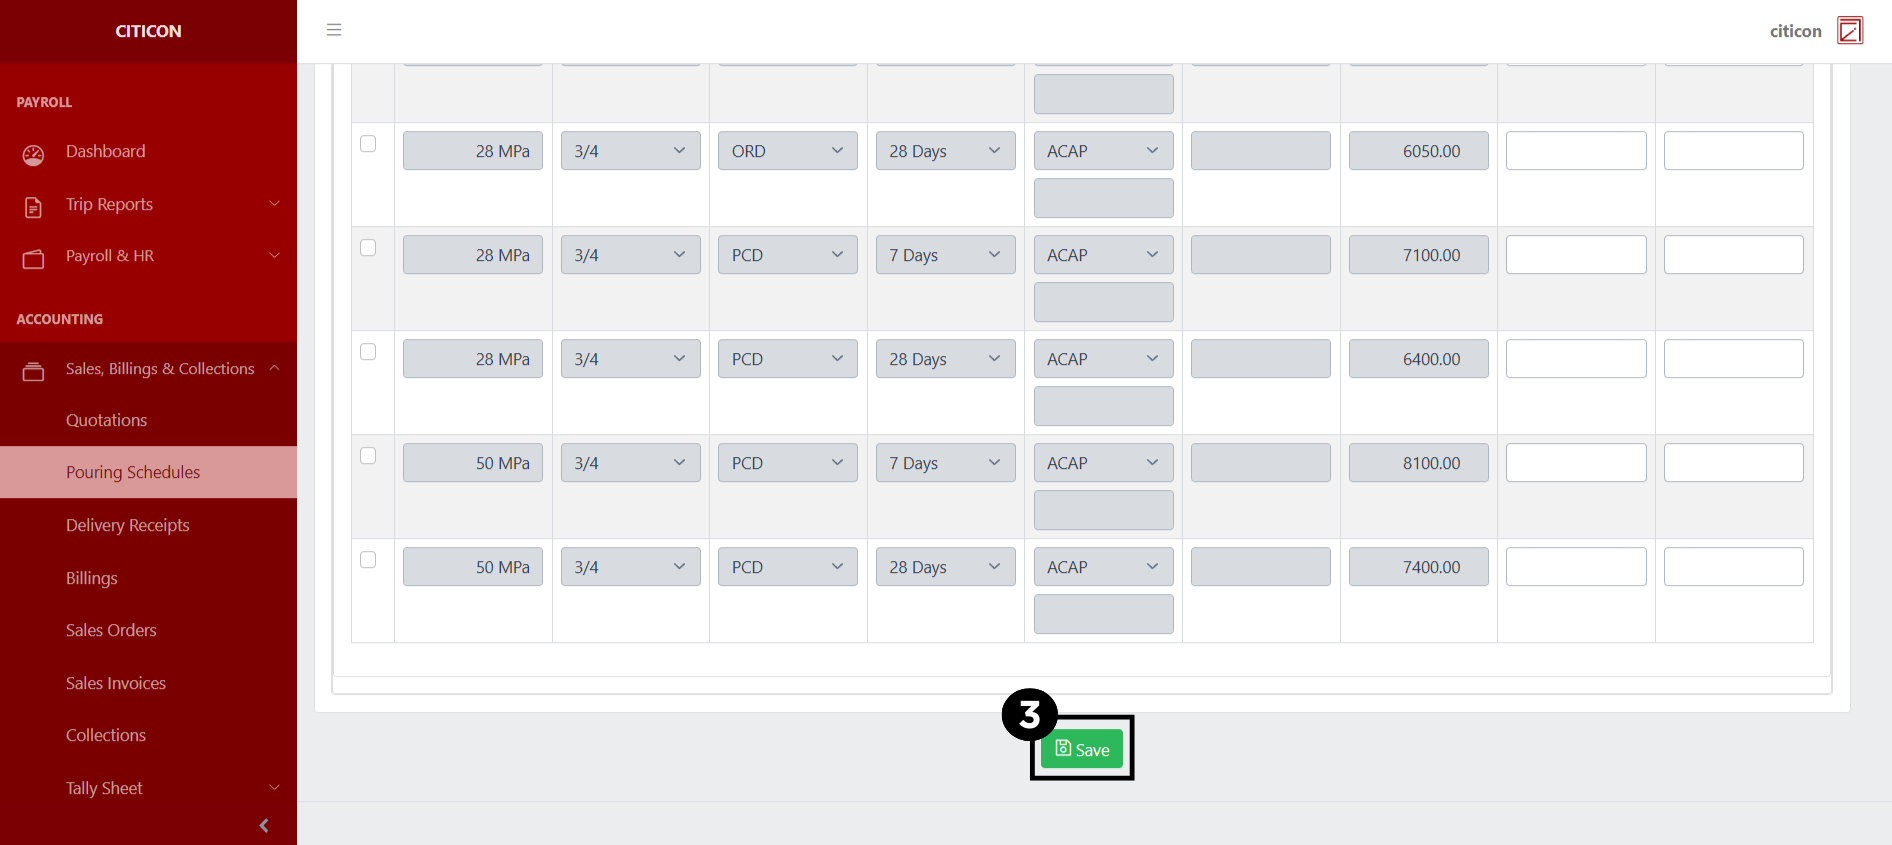
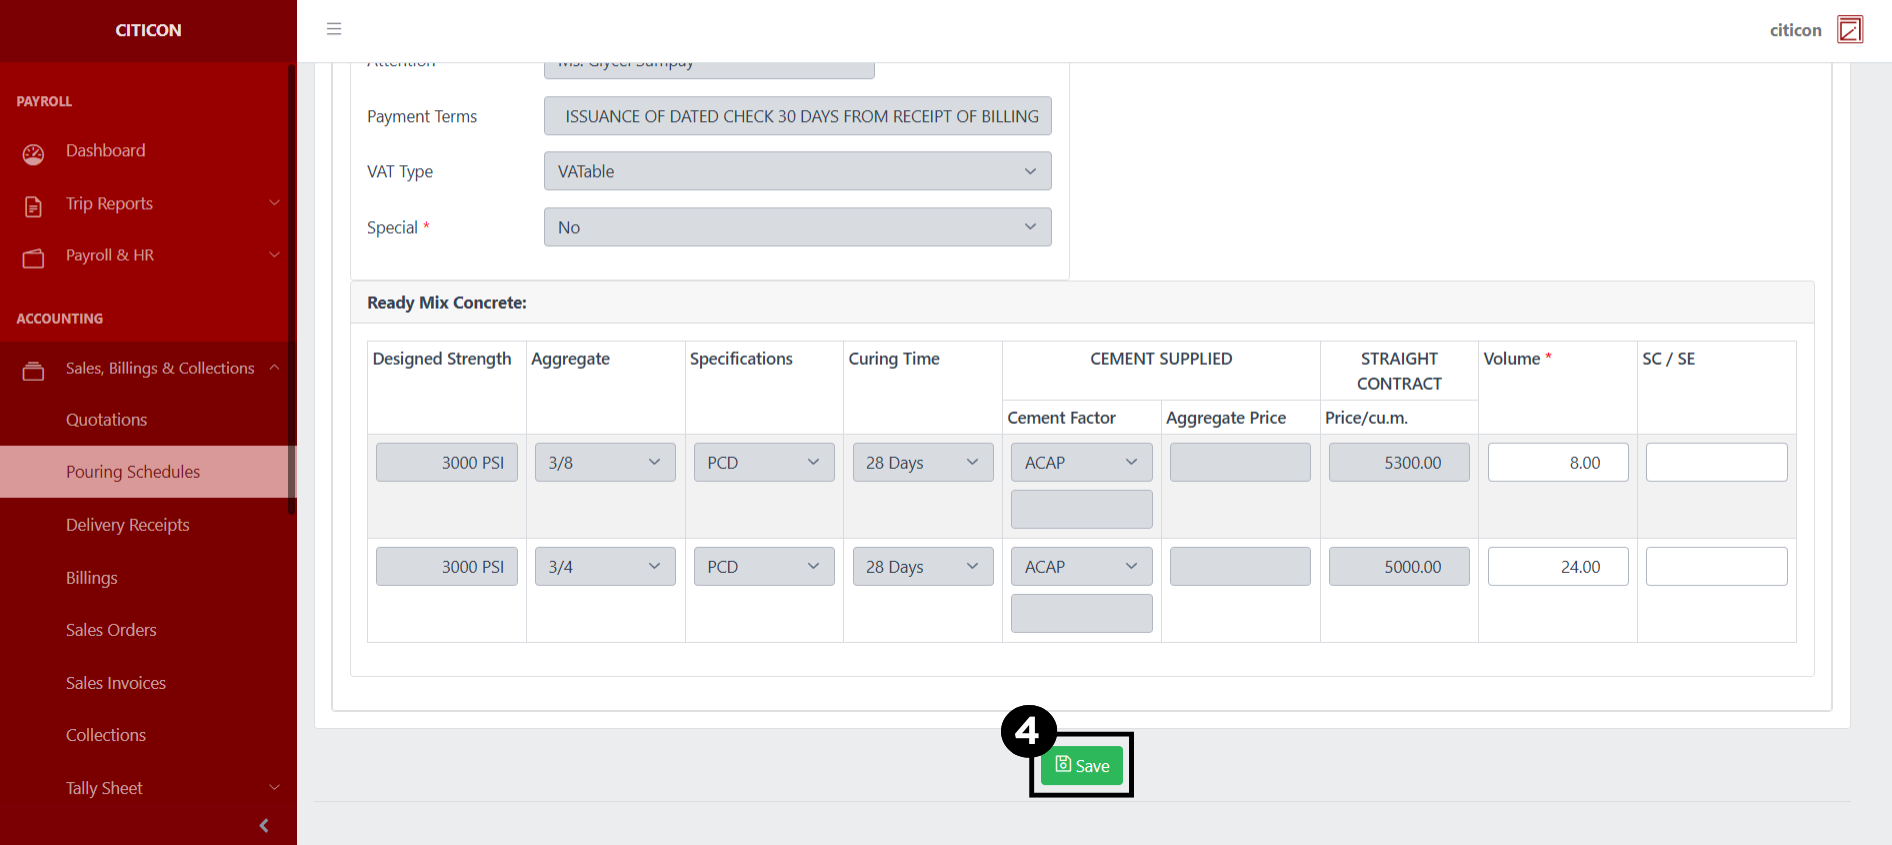
- Select the Save button to save your new entry.
Show Entry
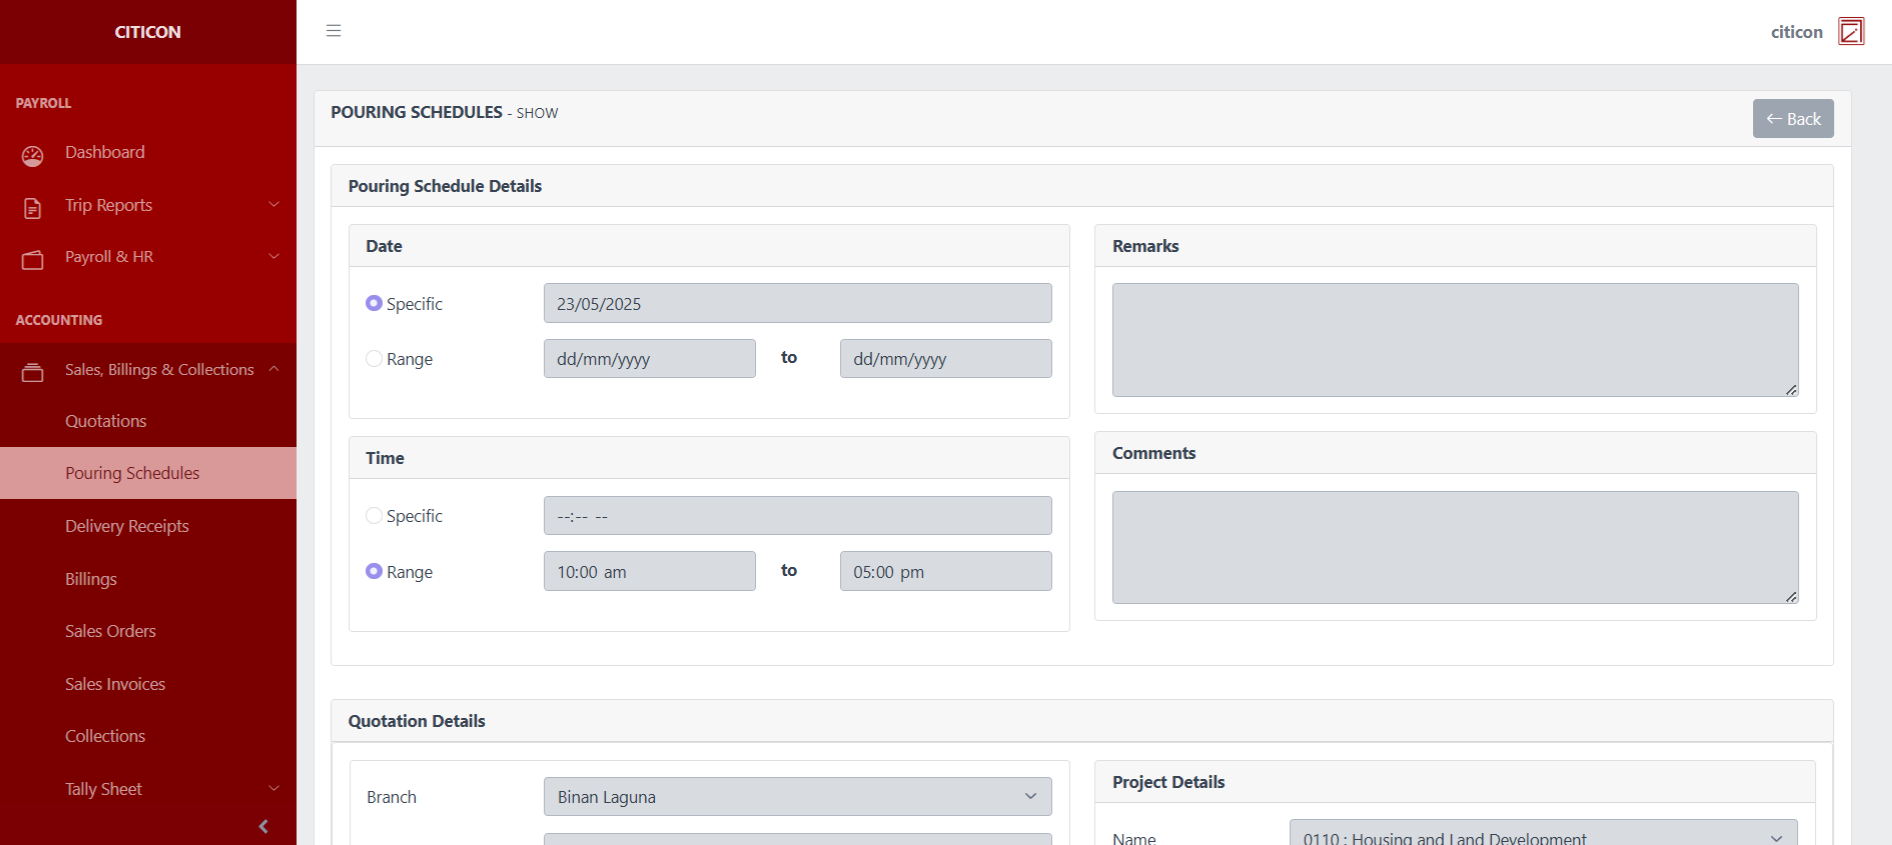
- Select the folder button to view an entry.
 Here you can view more specific details on the entry that you selected.
Update Entry
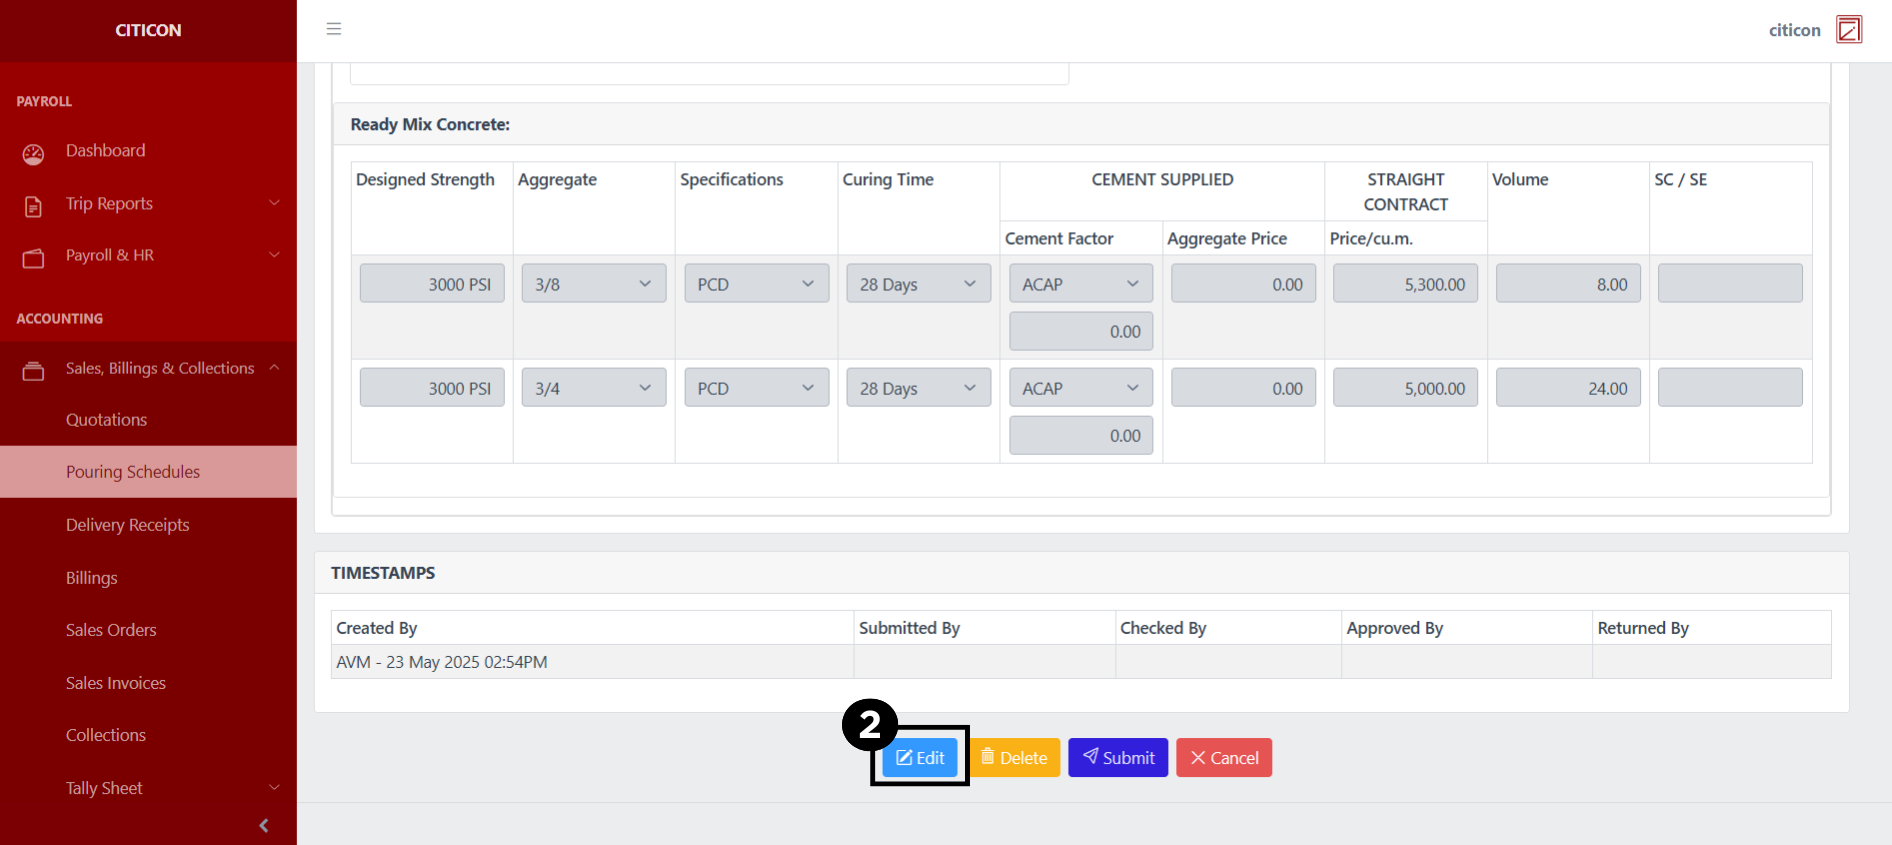
- Select the folder button of the entry which you want to edit.

- Select the Edit button to update the details of the entry.
- Select a detail section which you want to edit, and enter the necessary changes.
All fields with an asterisk (*) are required to be filled up.
- Select the Save button to save the changes you have made.
Submit Entry
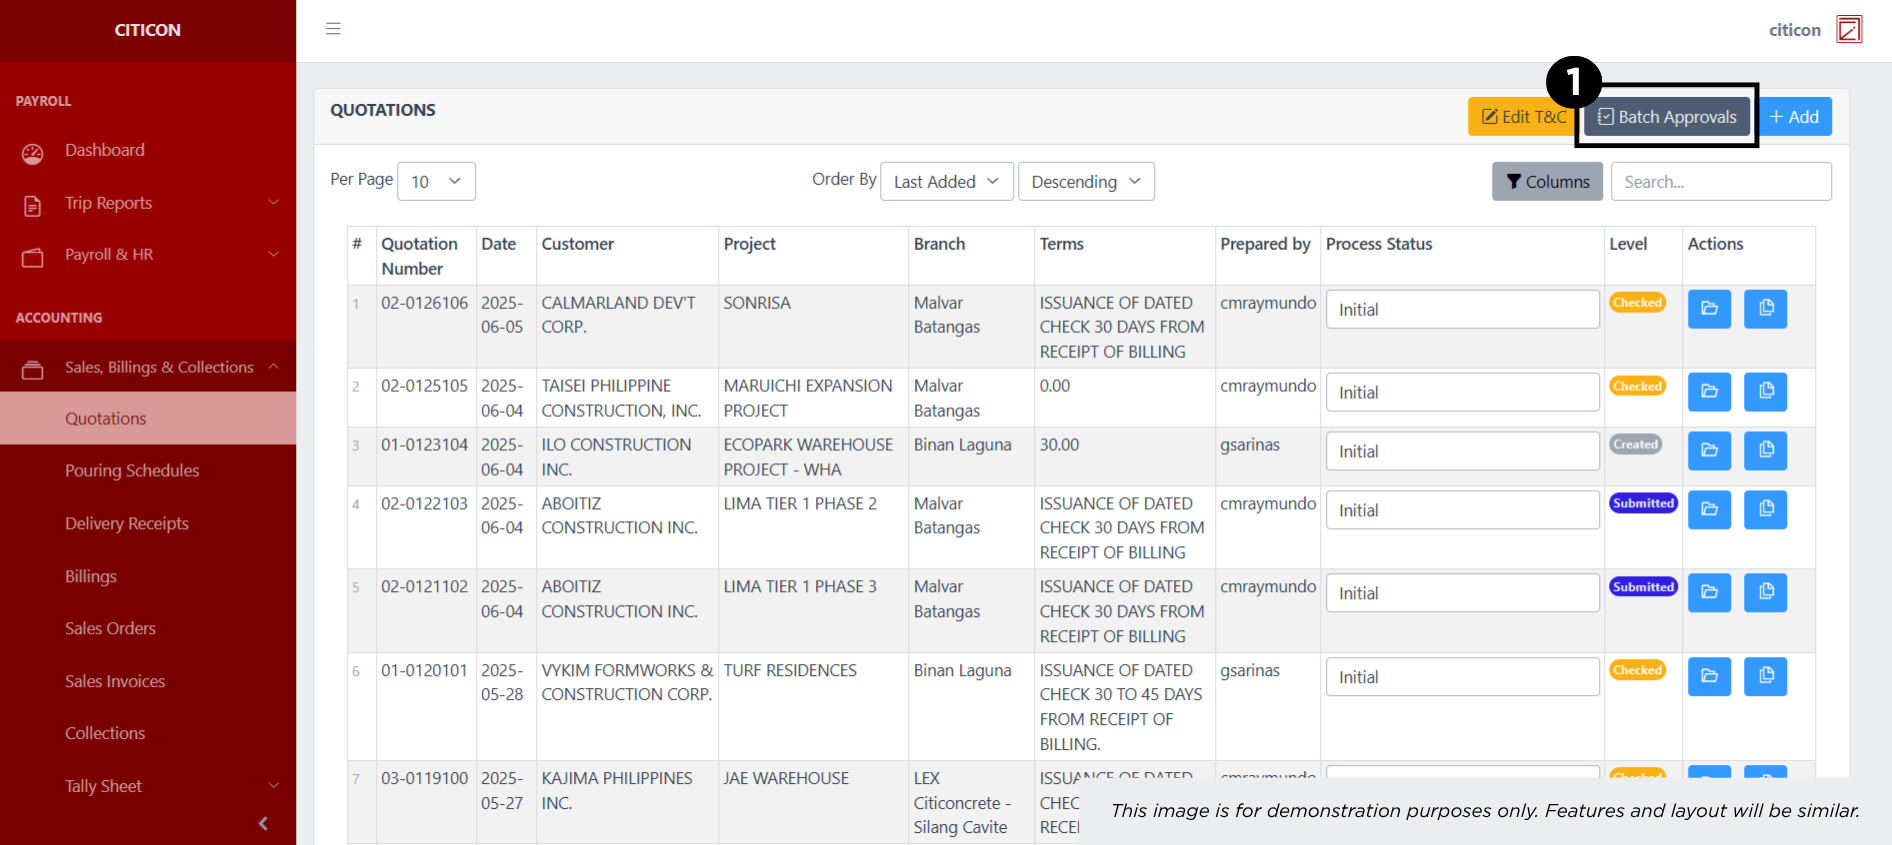
- Select the Batch Approvals button to submit an entry.
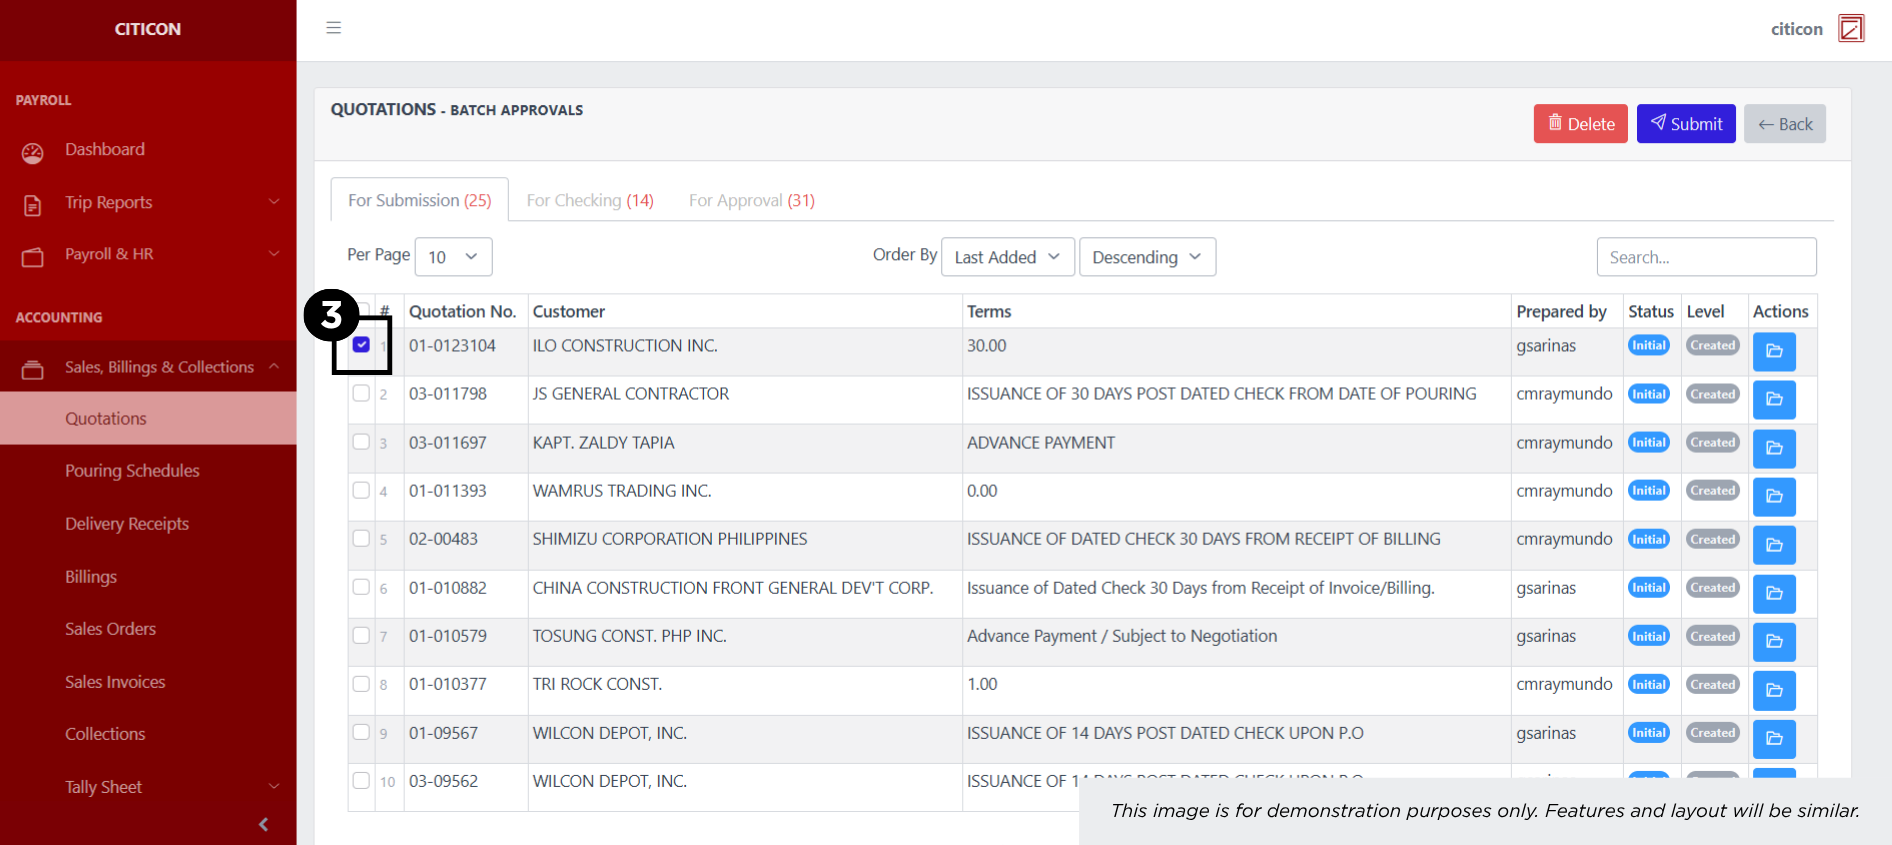
- Select the For Submission tab.
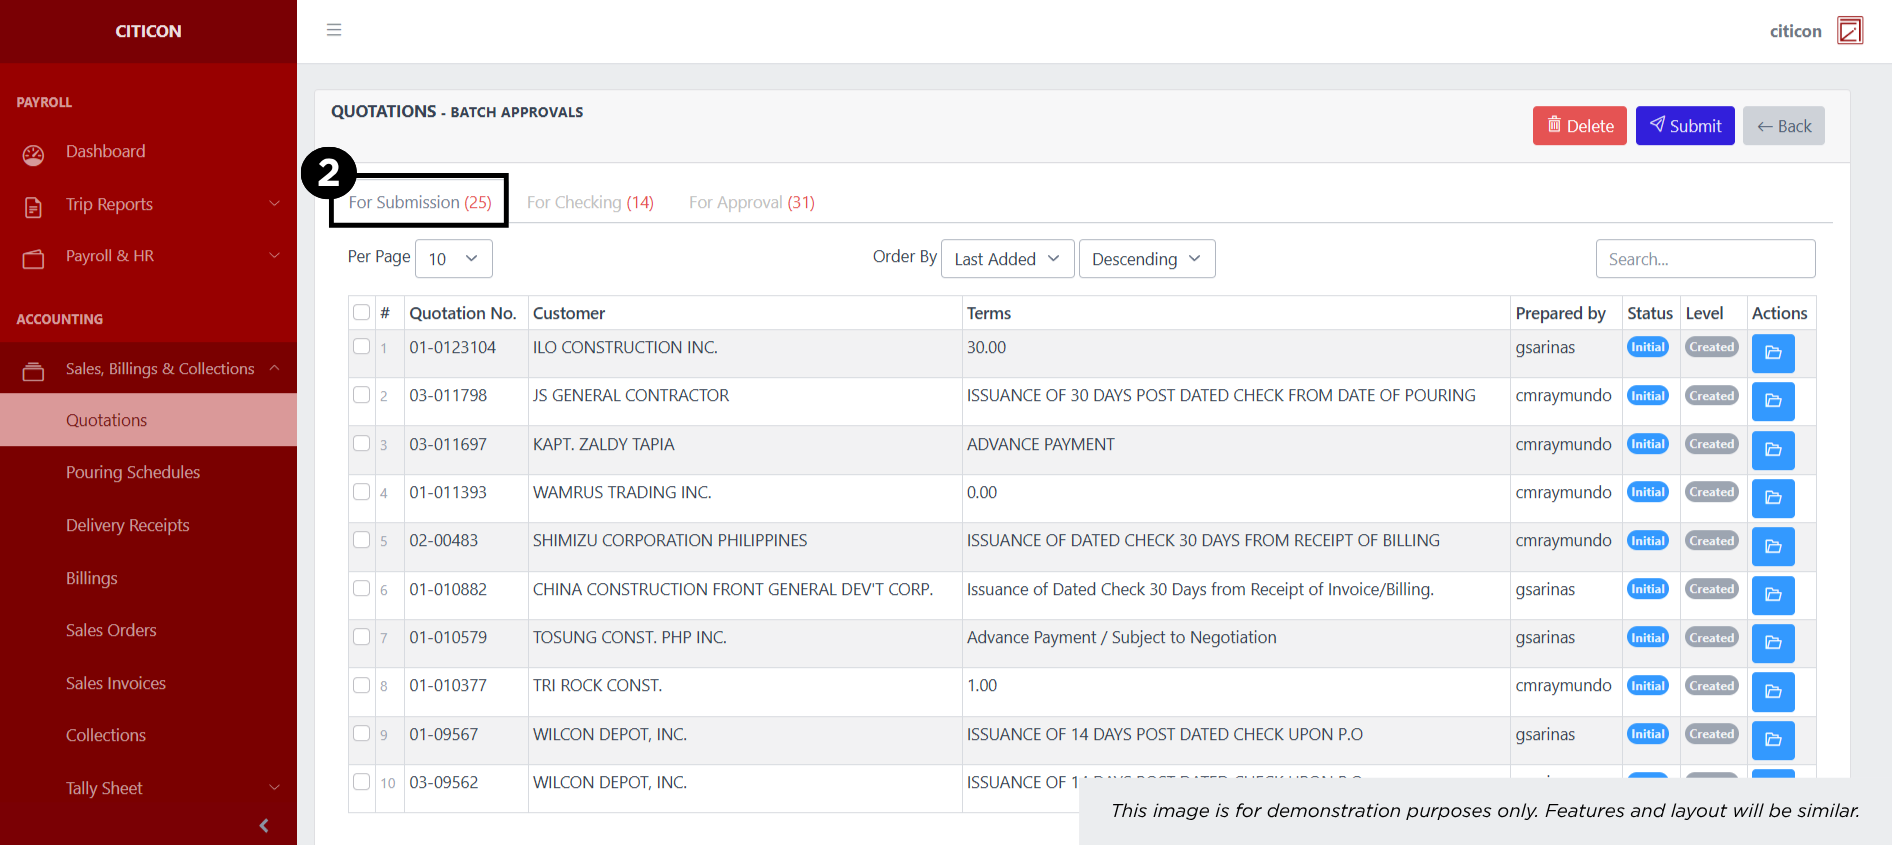
- Select the entry that you want to submit.
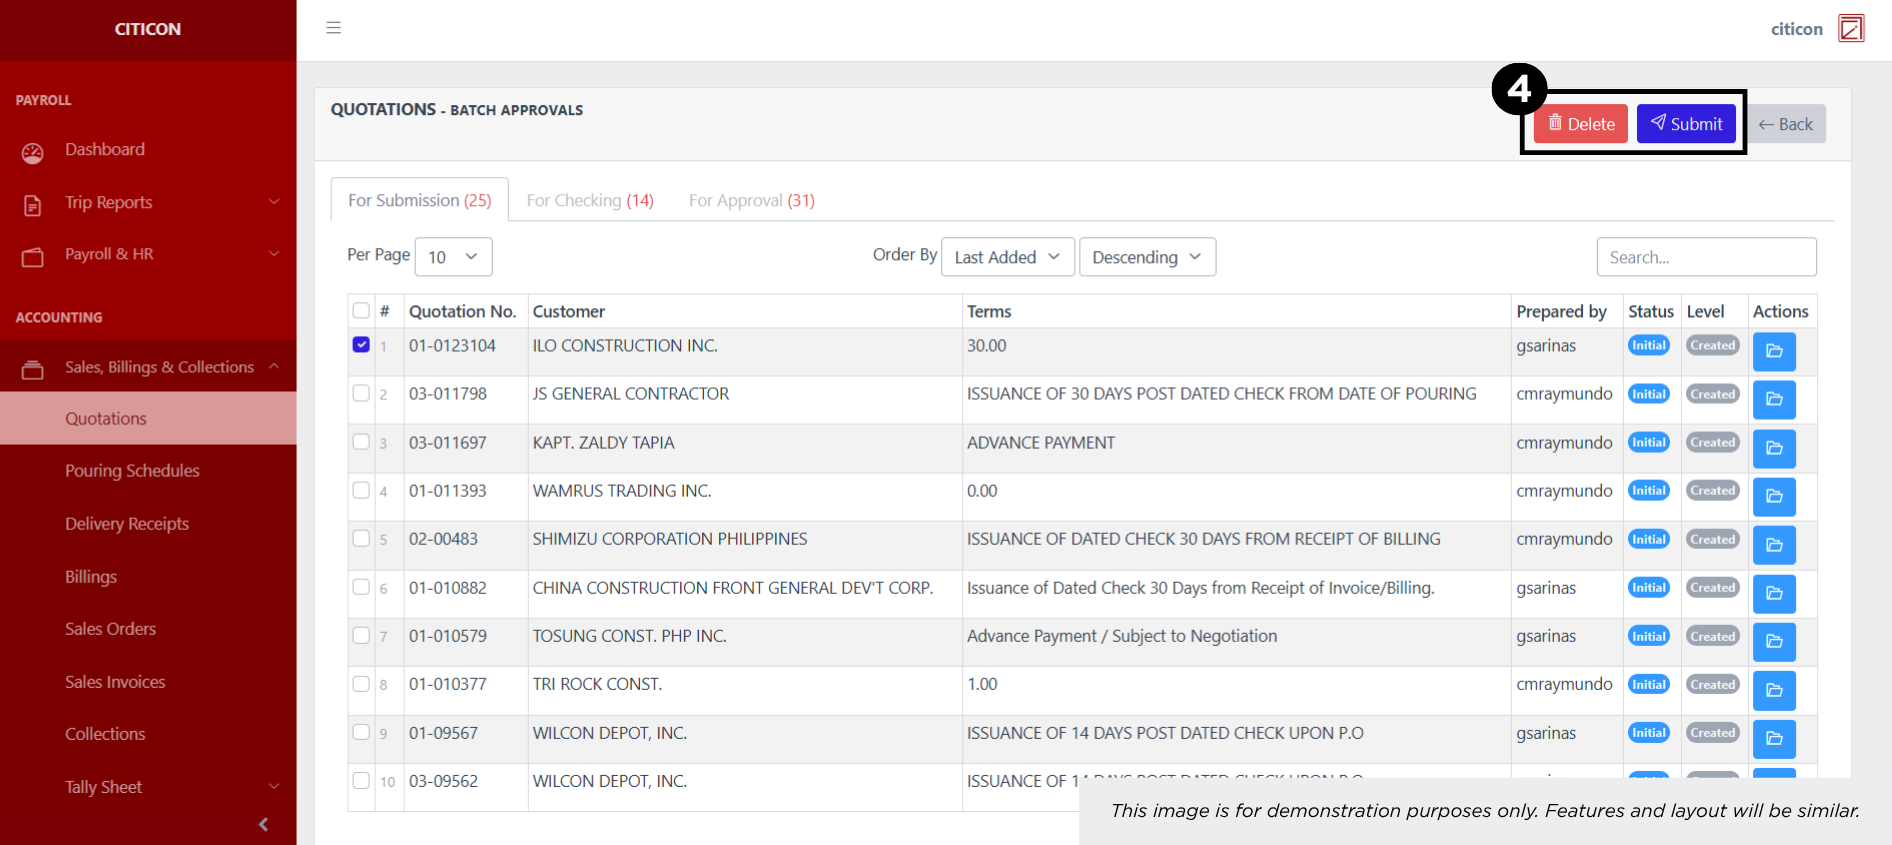
- Select the Submit button to submit the entry. In cases where you want to delete a entry, select the entry you want to delete, then select the Delete button.
 To view the details of an individual entry, select the folder button and from here, you may either Edit, Submit, or Cancel the entry.

Check Entry
- Select the Batch Approvals button to check an entry.

- Select the For Checking tab.
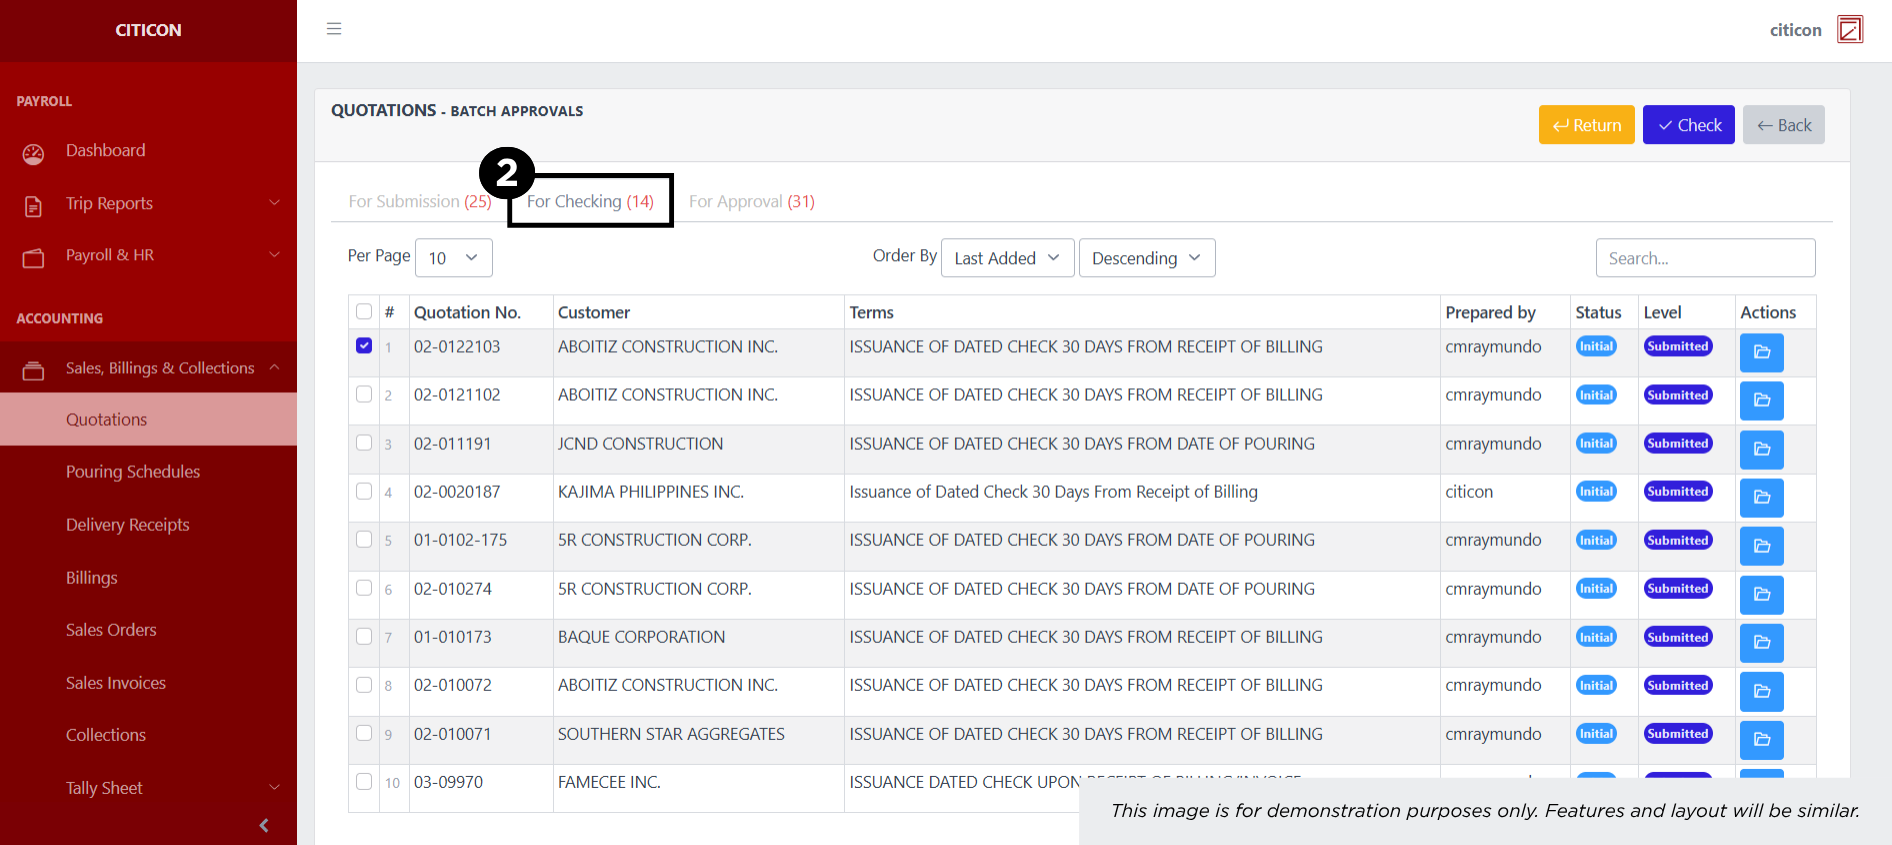
- Select the entry that you want to be checked.

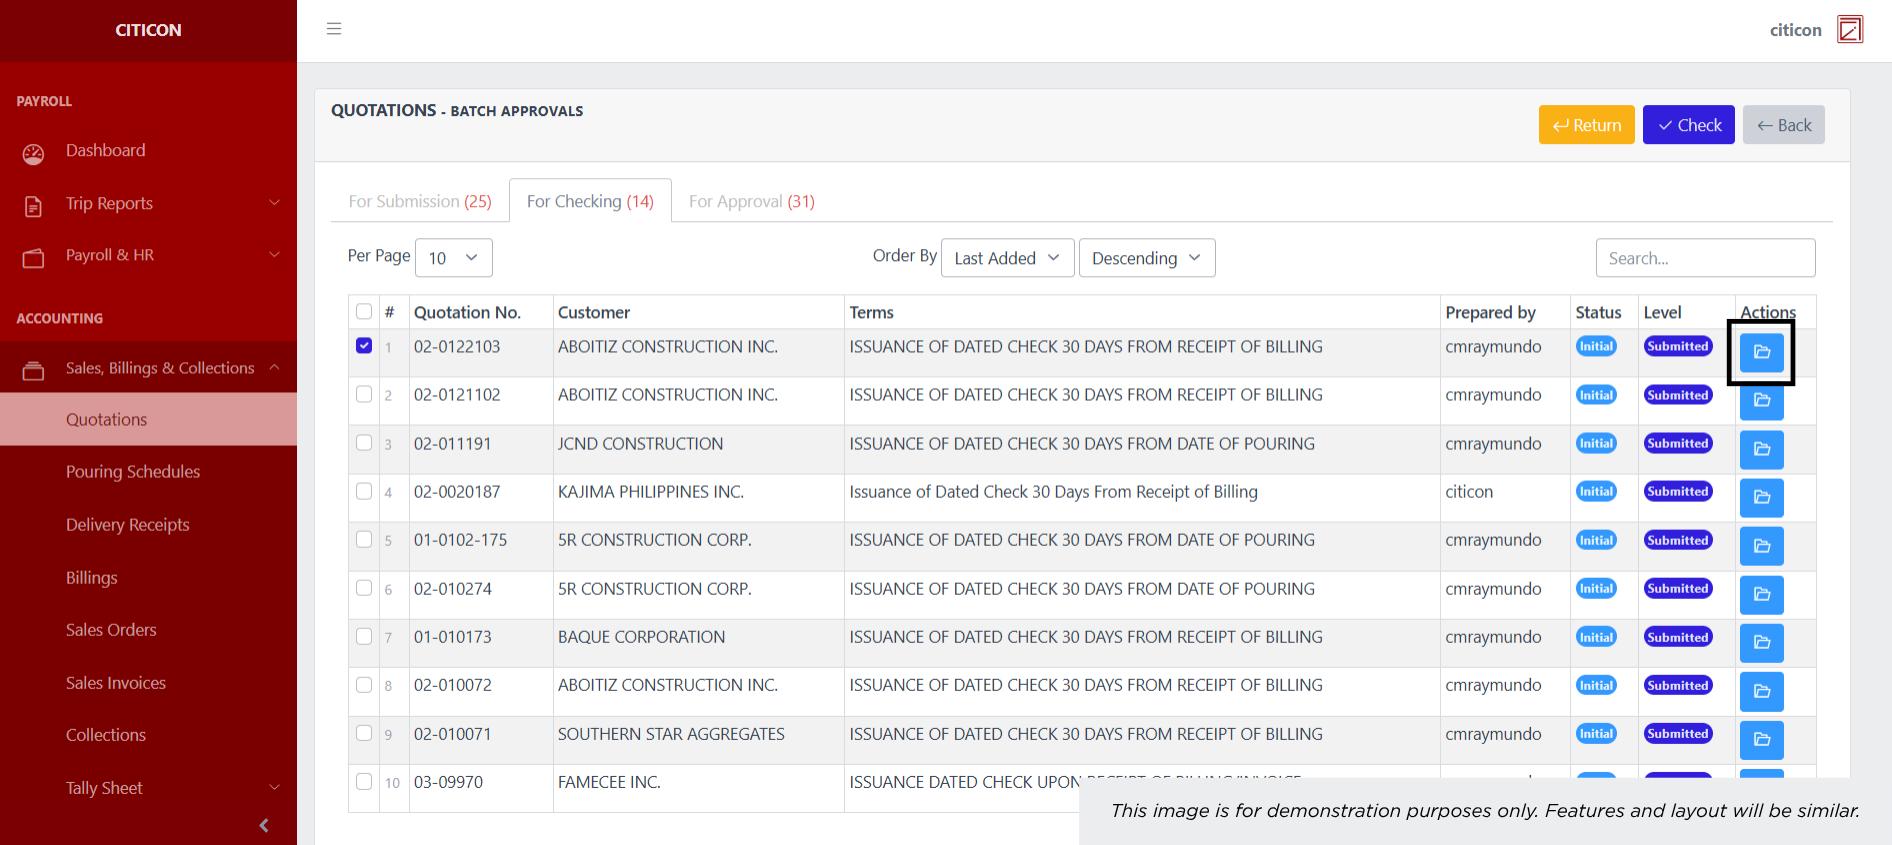
- Select the Check button to check the entry. In cases where you want to return a entry, select the entry you want to return, then select the Return button.
 To view the details of an individual entry, select the folder button and from here, you may either Edit, Delete, Check, or Cancel the entry.
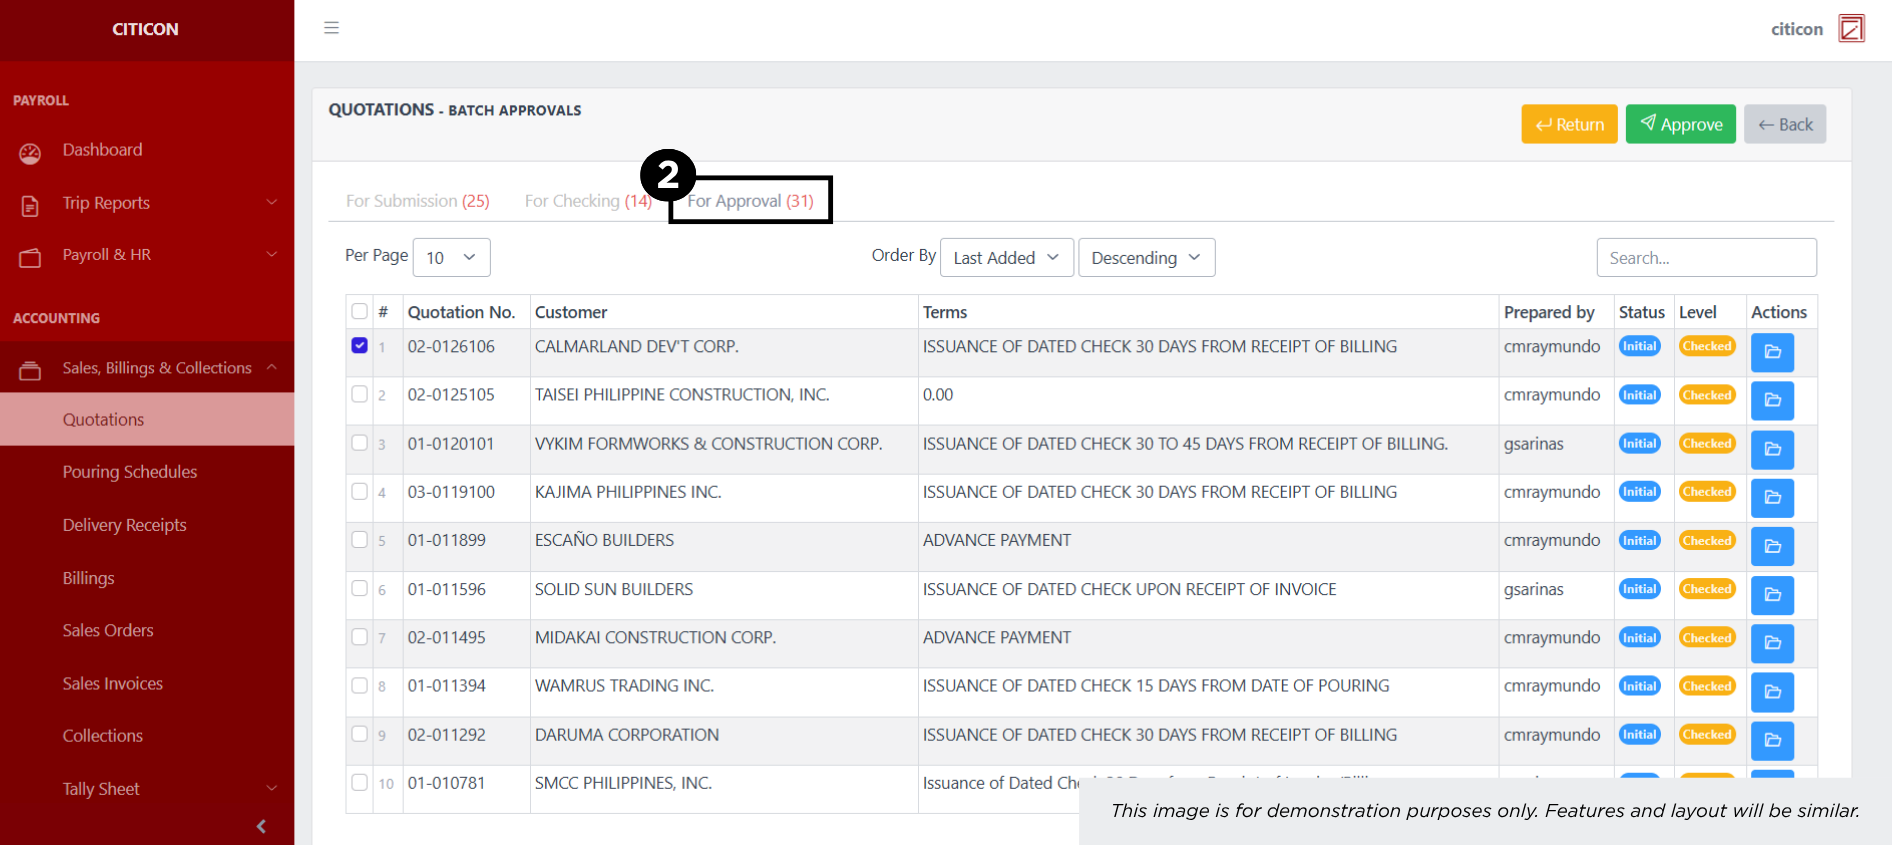
Approve Entry
- Select the Batch Approvals button to approve a entry.

- Select the For Approval tab.
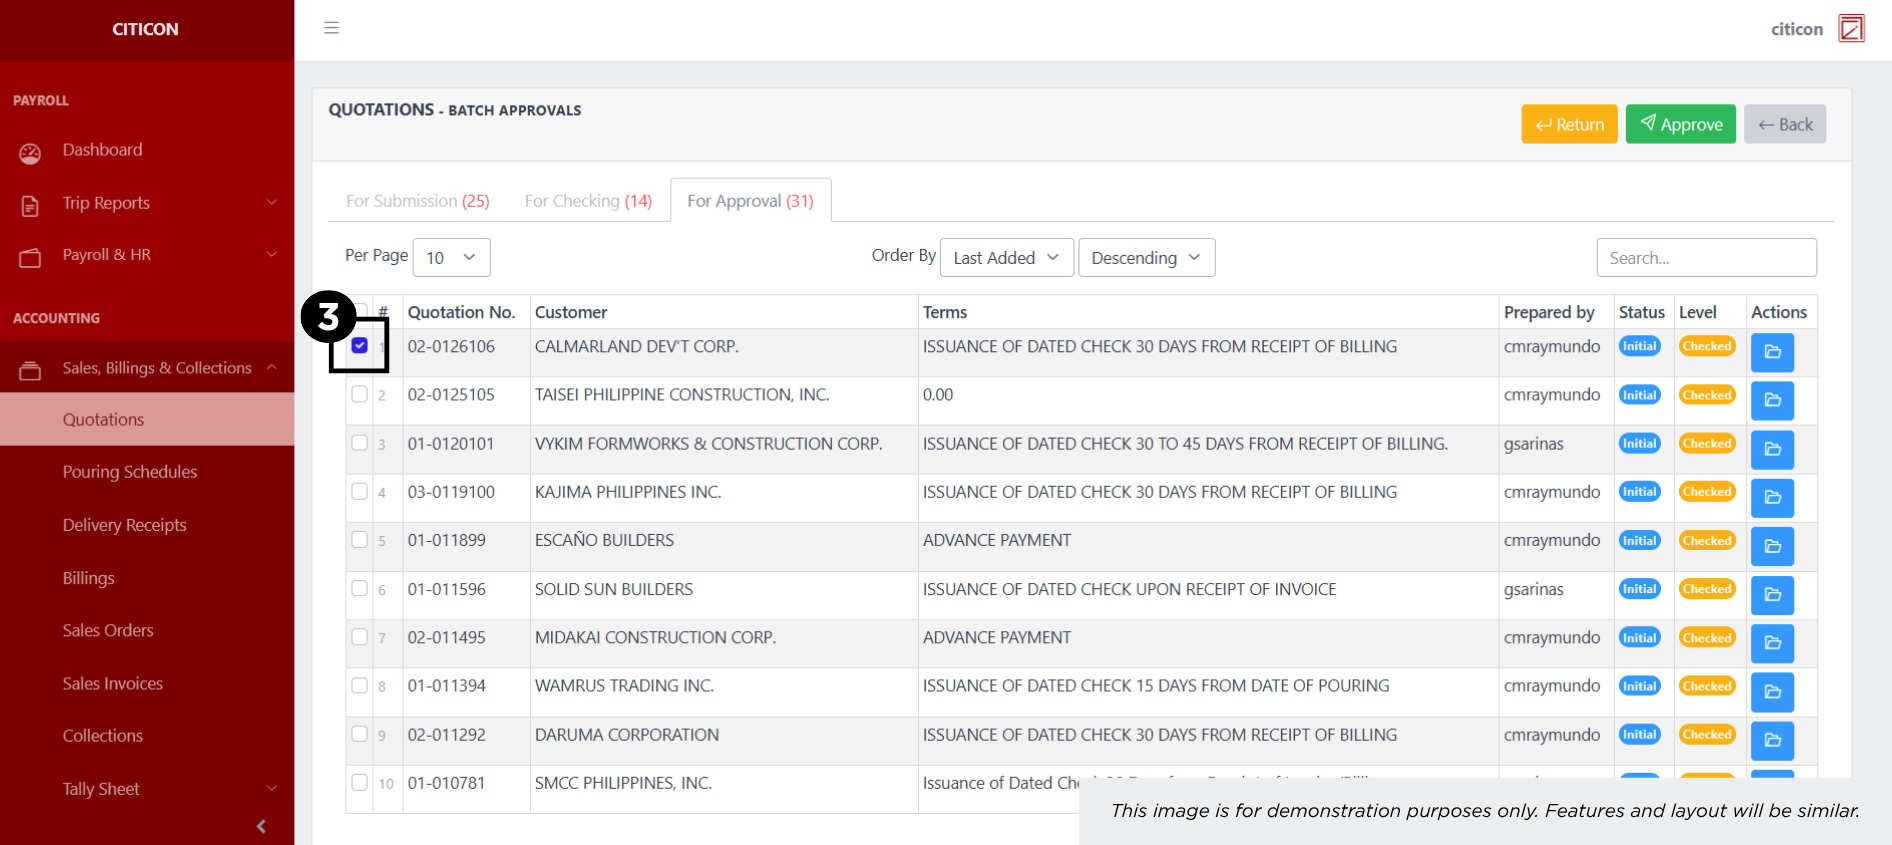
- Select the entry that you want to approve.
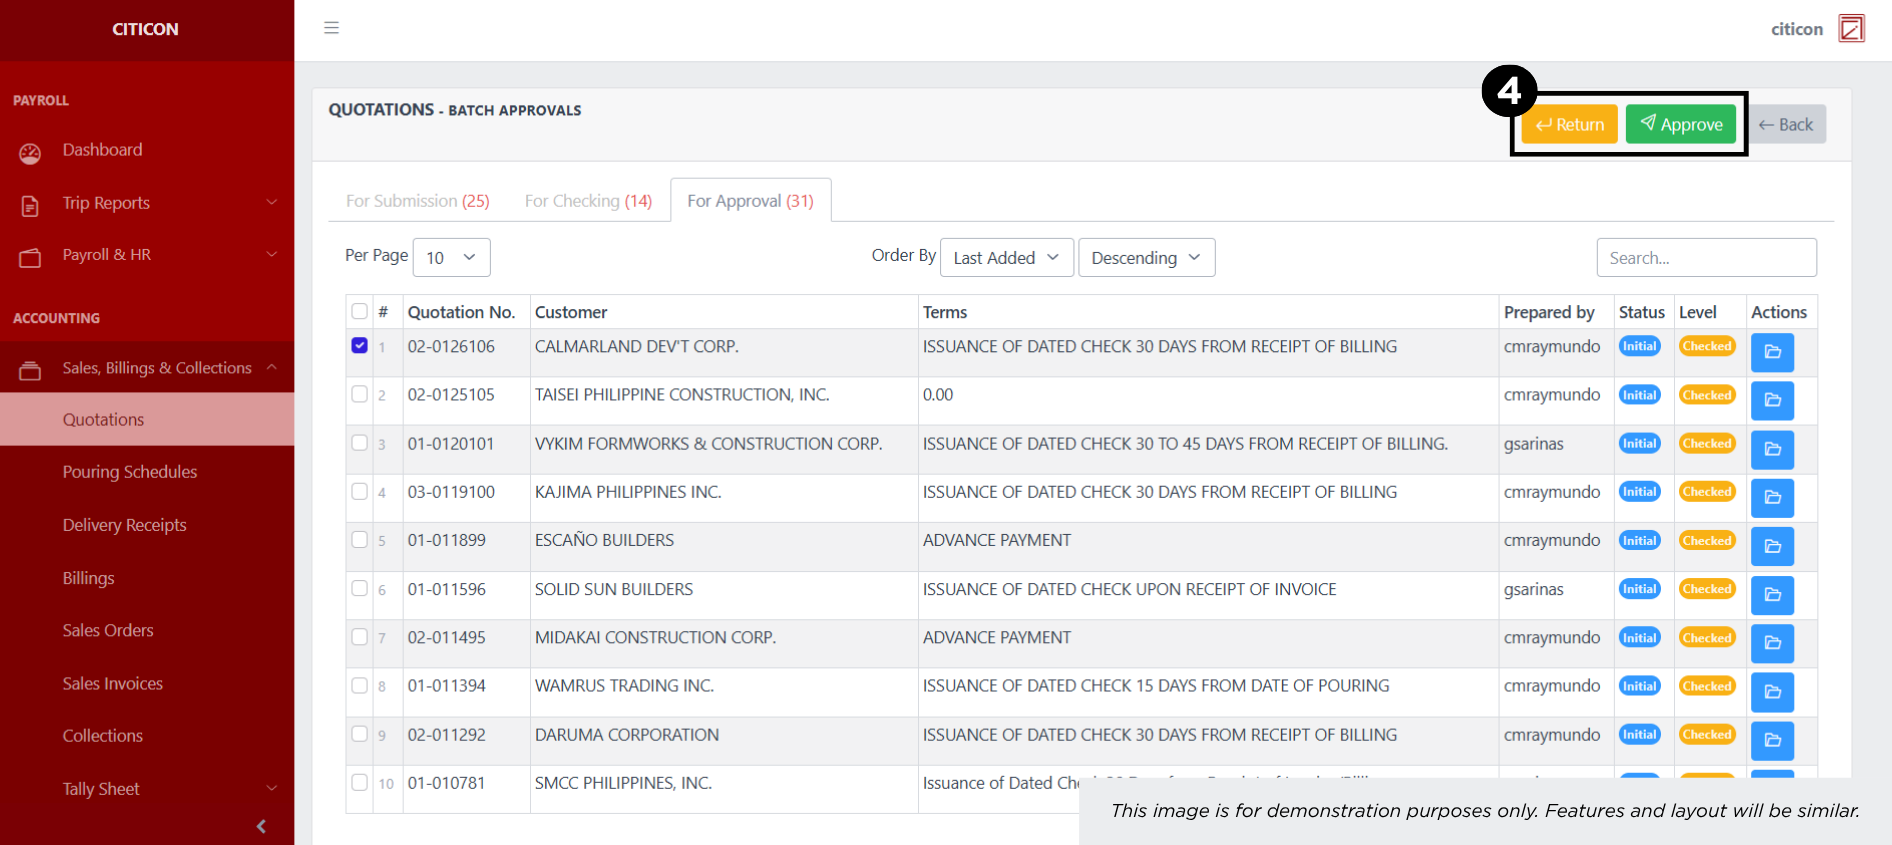
- Select the Approve button to approve the entry. In cases where you want to return a entry to submission section, select the entry you want to return, then select the Return button.
 To view the details of an individual entry, select the folder button and from here, you may either Return, Approve, or Cancel the entry.

Explore Citicon Payroll and Accounting System: Accounting - Delivery Receipts